
You want to create a nice graphic presentation, but you don’t know anything about design? You need to create some game graphic elements, but you’re really bad at drawing?
Isometric 3D allows you to create really neat and fun elements without knowing anything about design or art. In a few steps you can obtain really nice results.
A simple square
Let’s try to create a square in isometric projection.
The editor
I will use the great vector graphics editor Inkscape, that I have been fond of for years. Inkscape is free, open-source, multi-platform (Windows, Mac, Linux) and uses the standard format SVG. Many browser can open directly SVG files.
Vector graphics allows you to draw “shapes” instead of “pixels”, so you can zoom infinitely without losing precision. Another well known vector graphic editor is Adobe Illustrator.
My instructions will be for Inkscape, but the principles can be applied in any other vectorial or bitmap editor.
Simple square
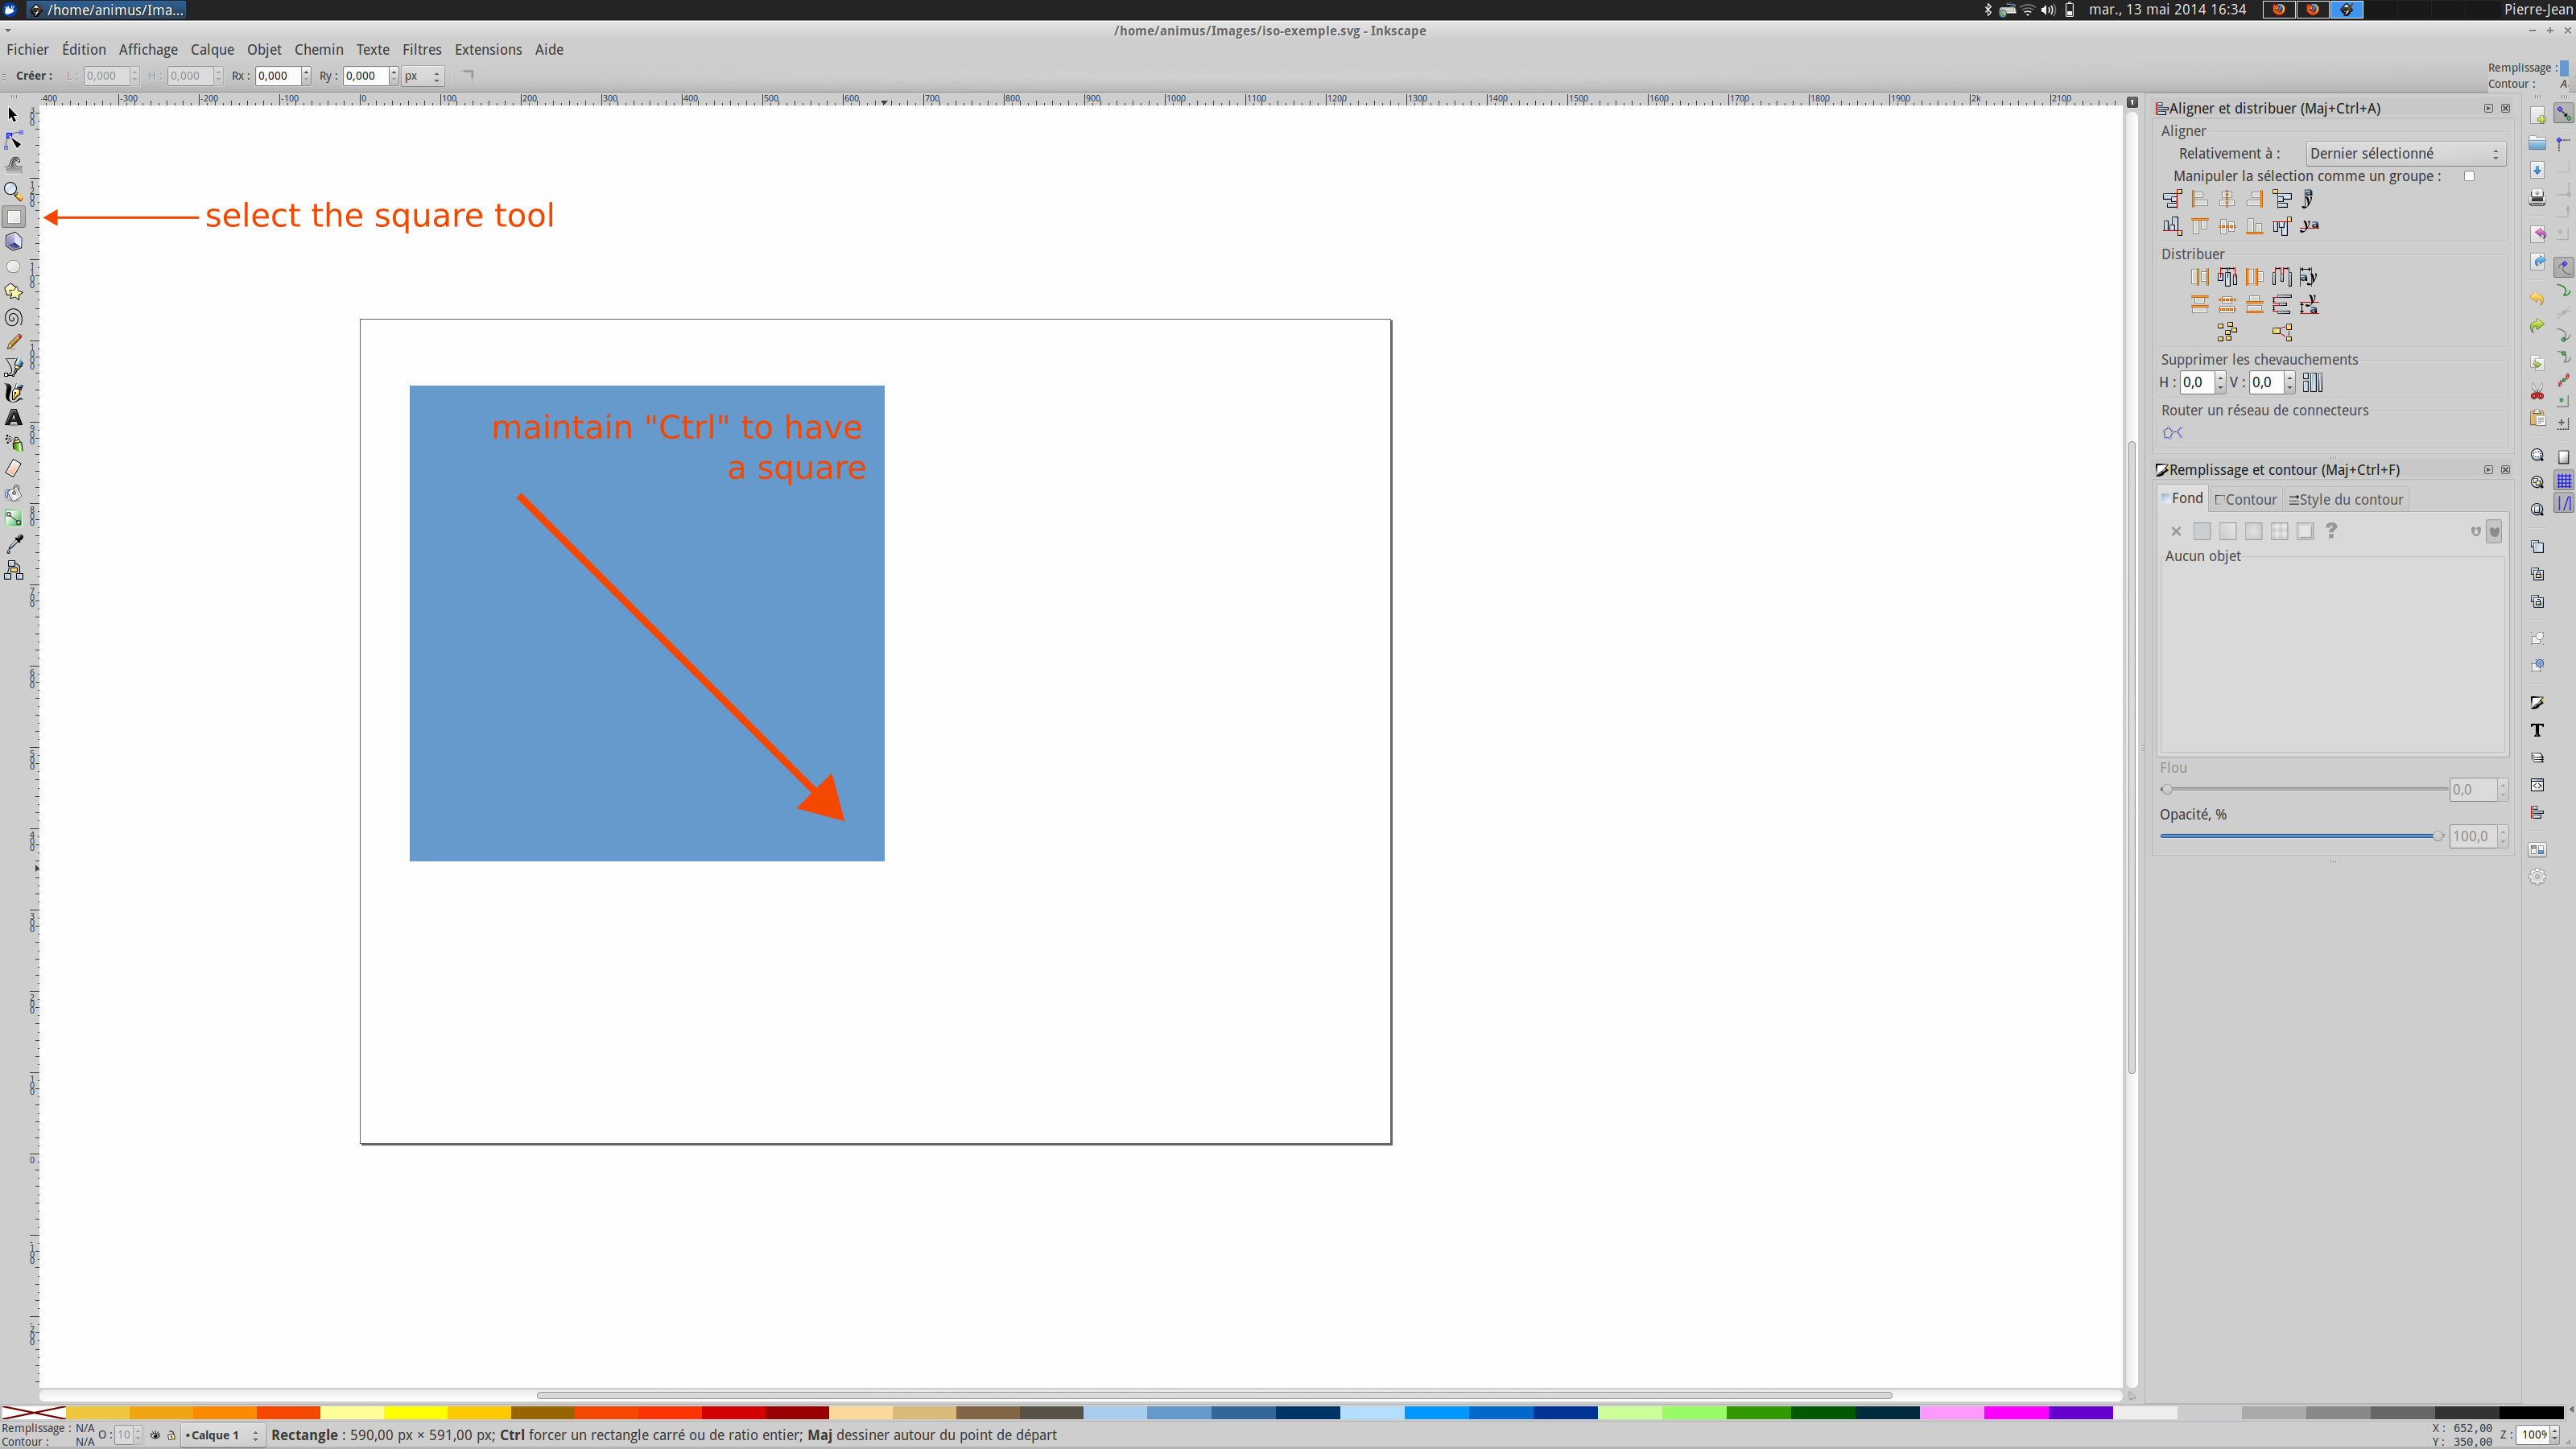
Let’s see how to draw a simple square in isometric projection. Open Inkscape and follow these instructions:
- Select the rectangle tool on the left (F4 on Linux)
- Maintain the key Ctrl pressed and draw the square. Ctrl will maintain proportions to obtain a square.
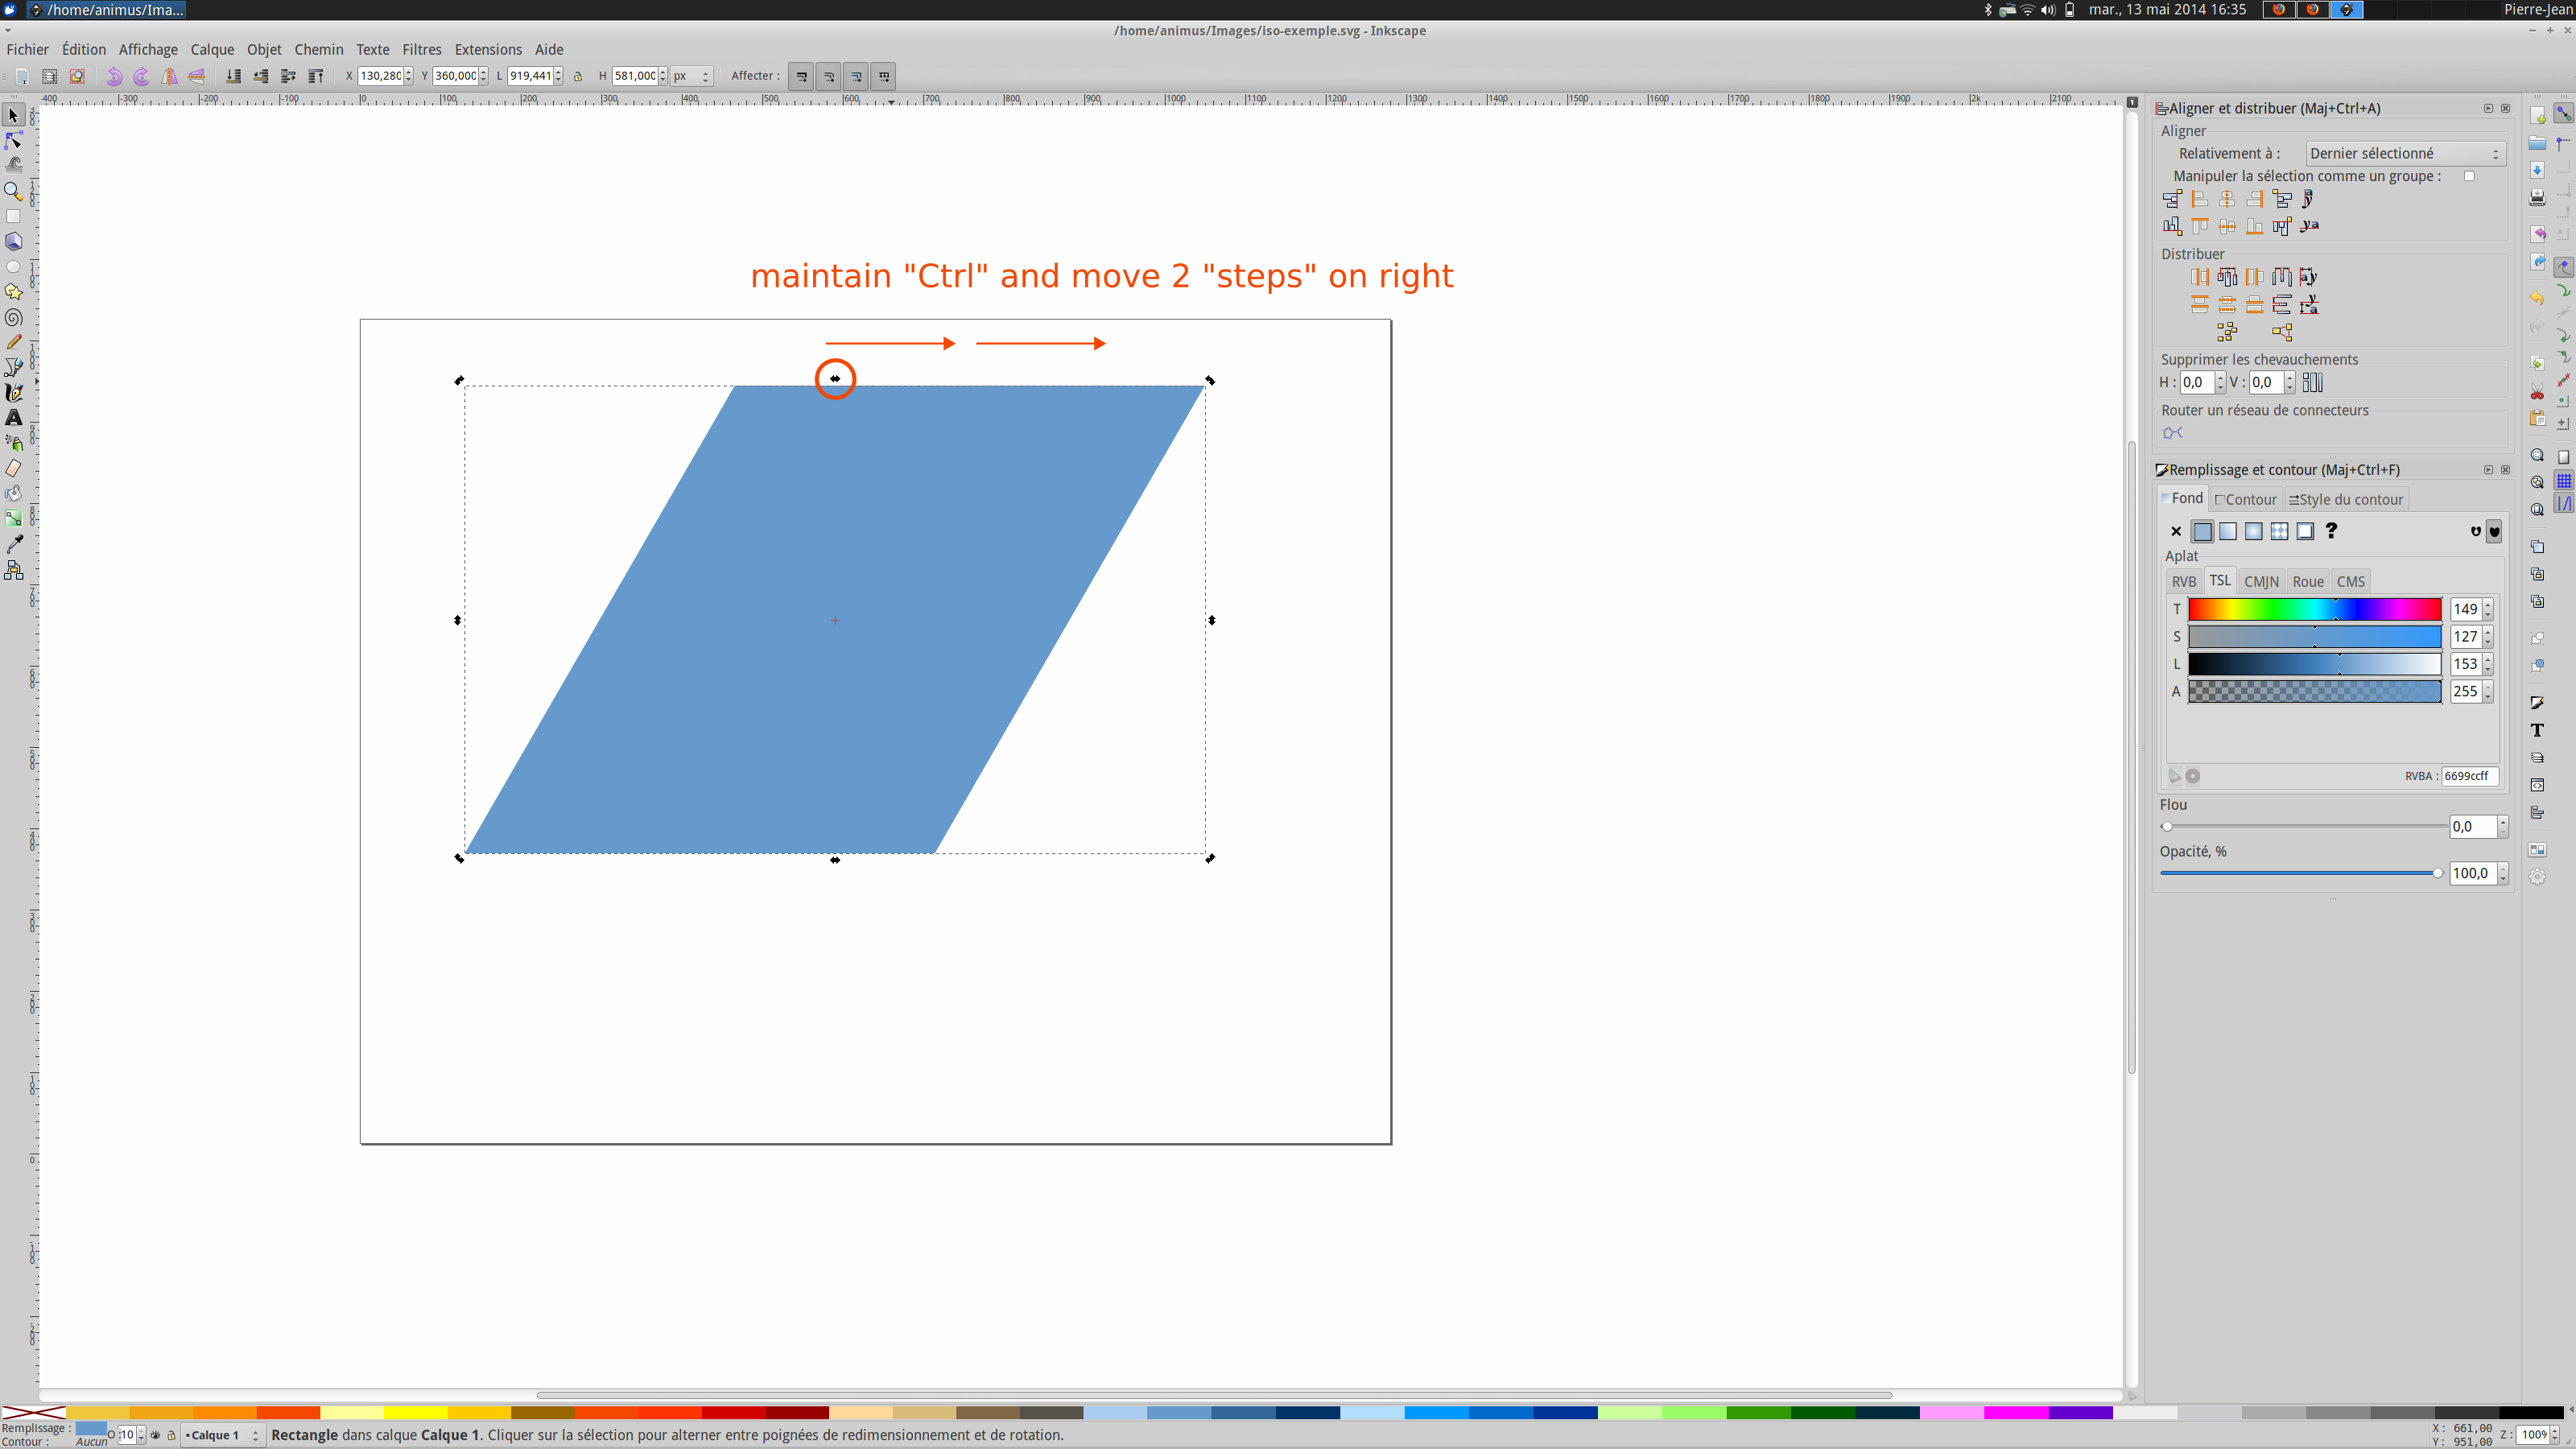
- Then, select the shape edition tool (F2) or click once in your square to enable the shape modification.
- Select the upper node and while maintaining Ctrl key, skew the square 2 steps to the right. Another method is using the Transform dialog (menu Object/Transform or Shift+Ctrll+M) and skew horizontally by 30°.
- Finally, Select again the shape edition tool (F2), and while maintaining the Ctrl key, rotate 2 steps to the right. Another method is to use the Transform dialog and rotate by 30°.

You now have a nice square in isometric perspective.
Add Text
All transformation done to the square can be applied to text too. As a consequence following previous steps:
- Select Text tool (F8), and write something.
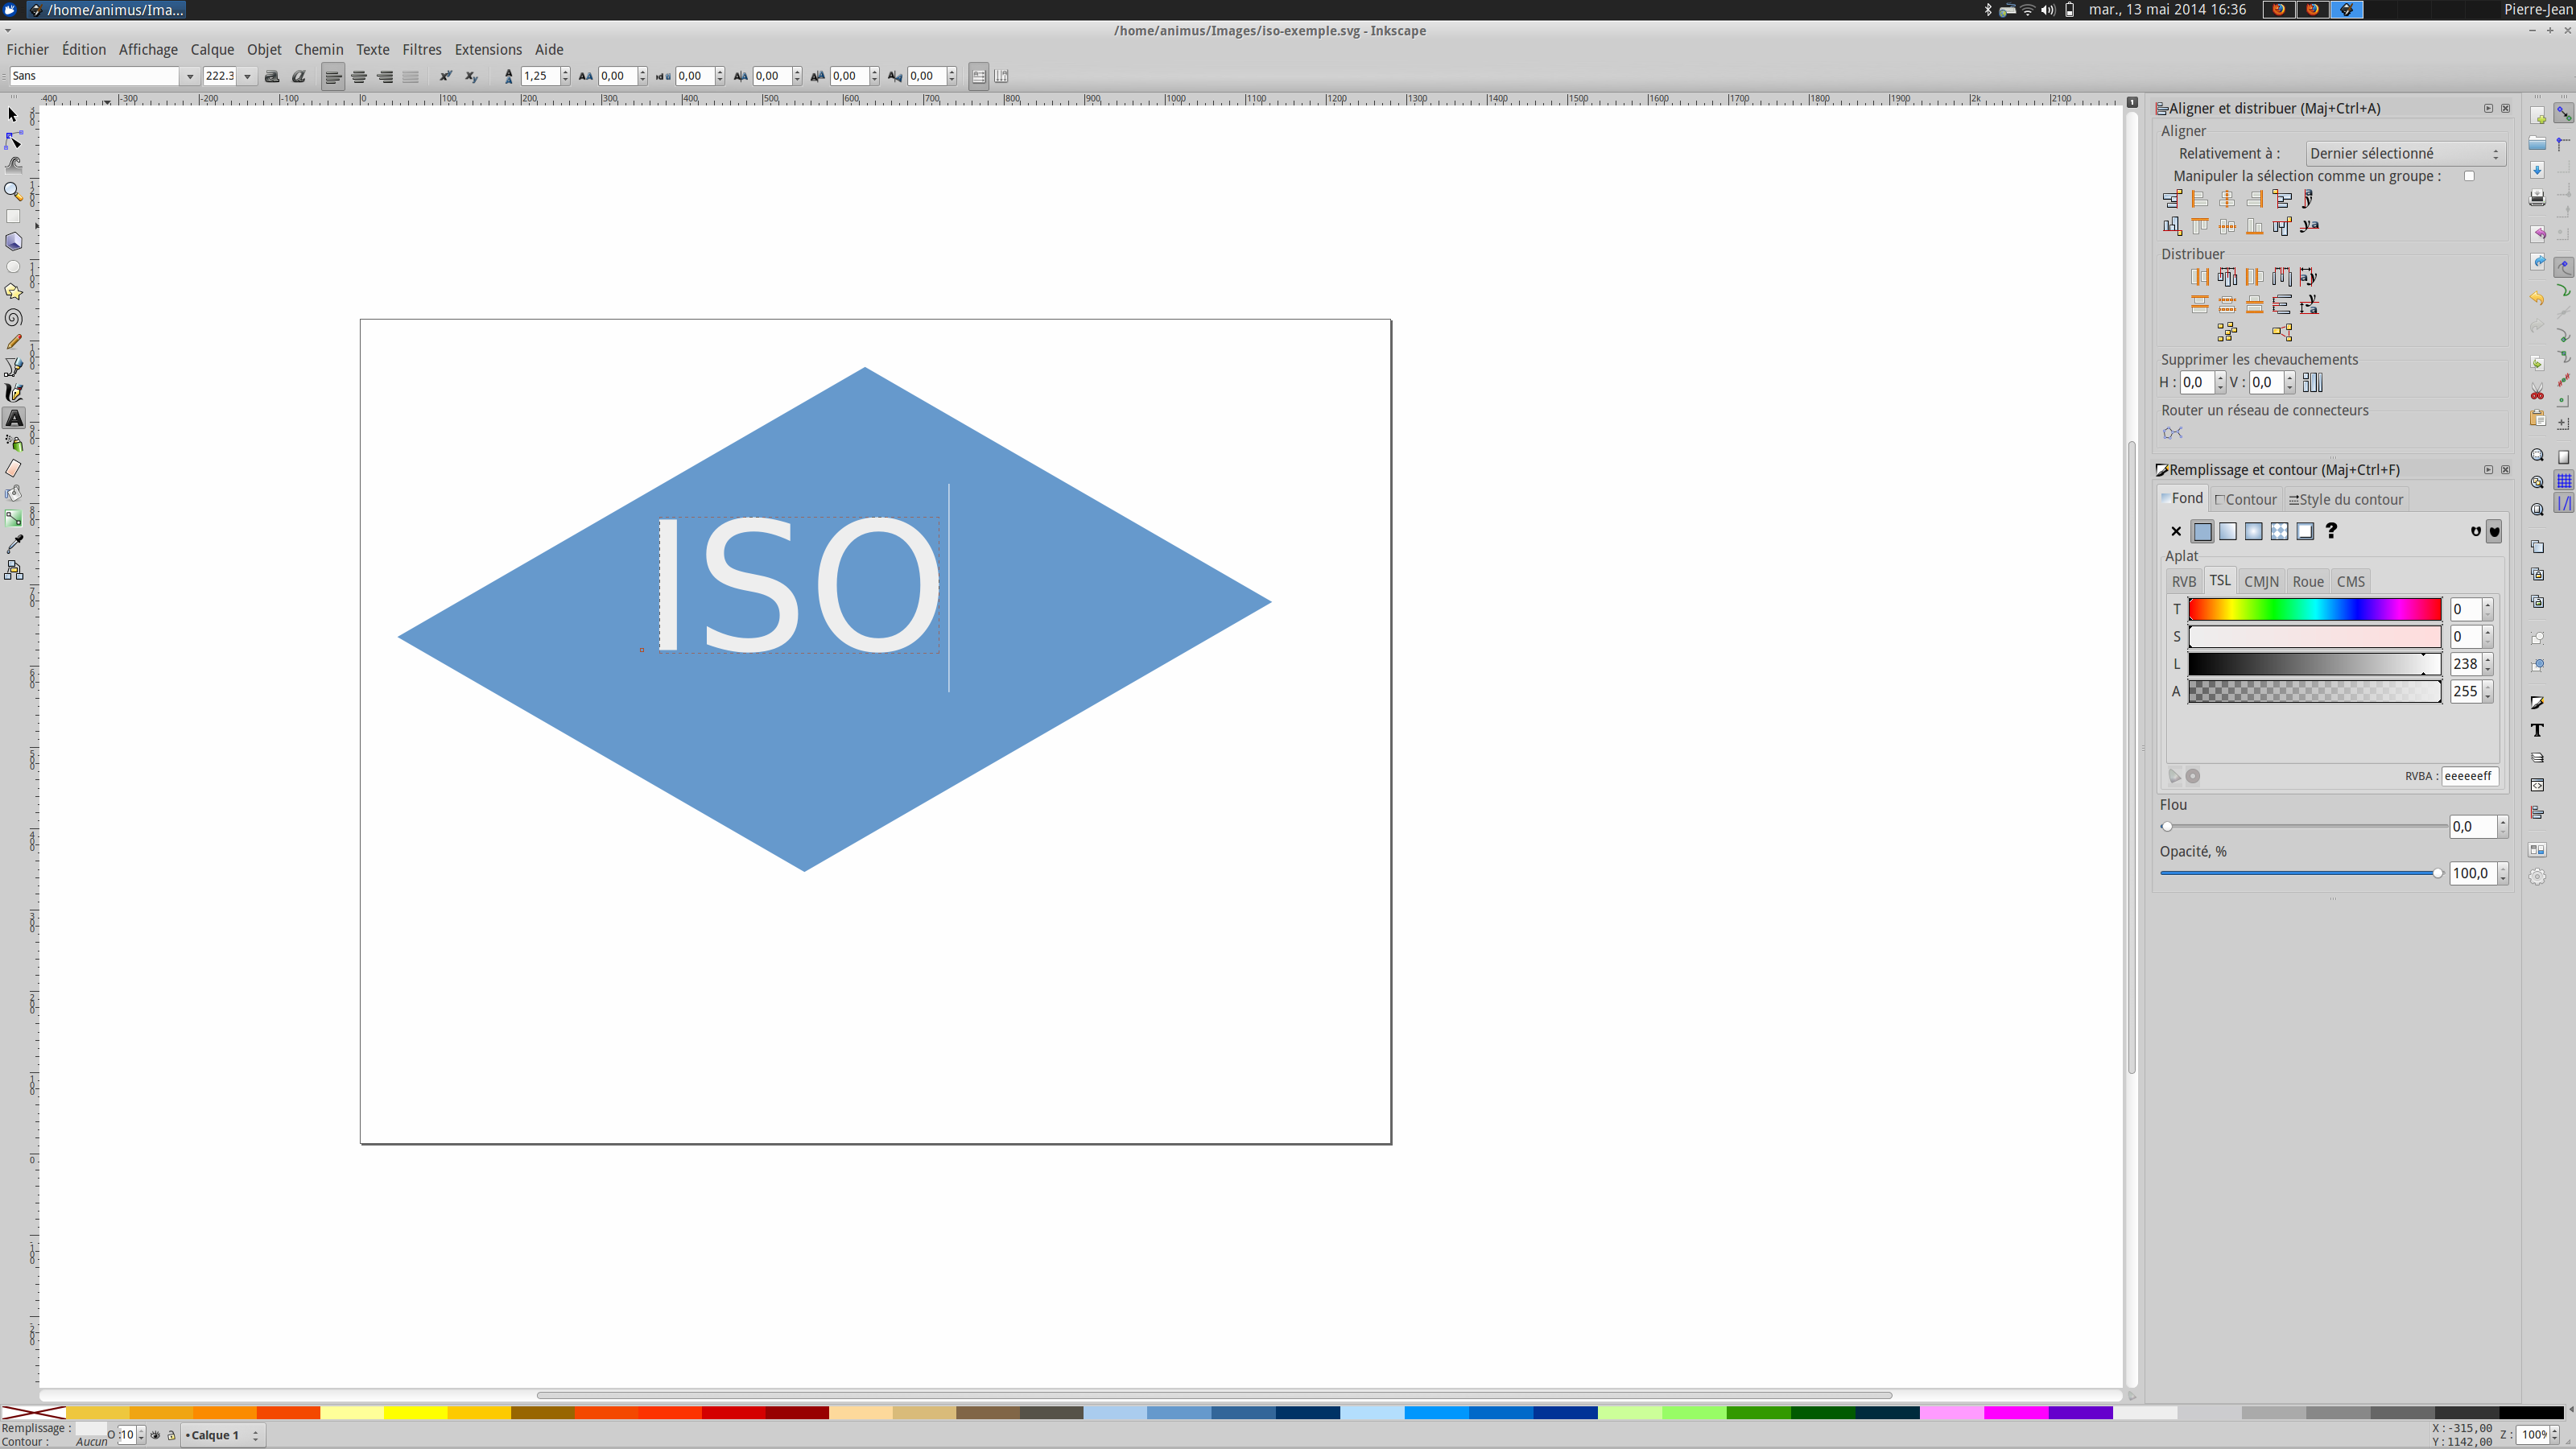
- Skew to the right by 30°.

- Rotate to the right by 30°
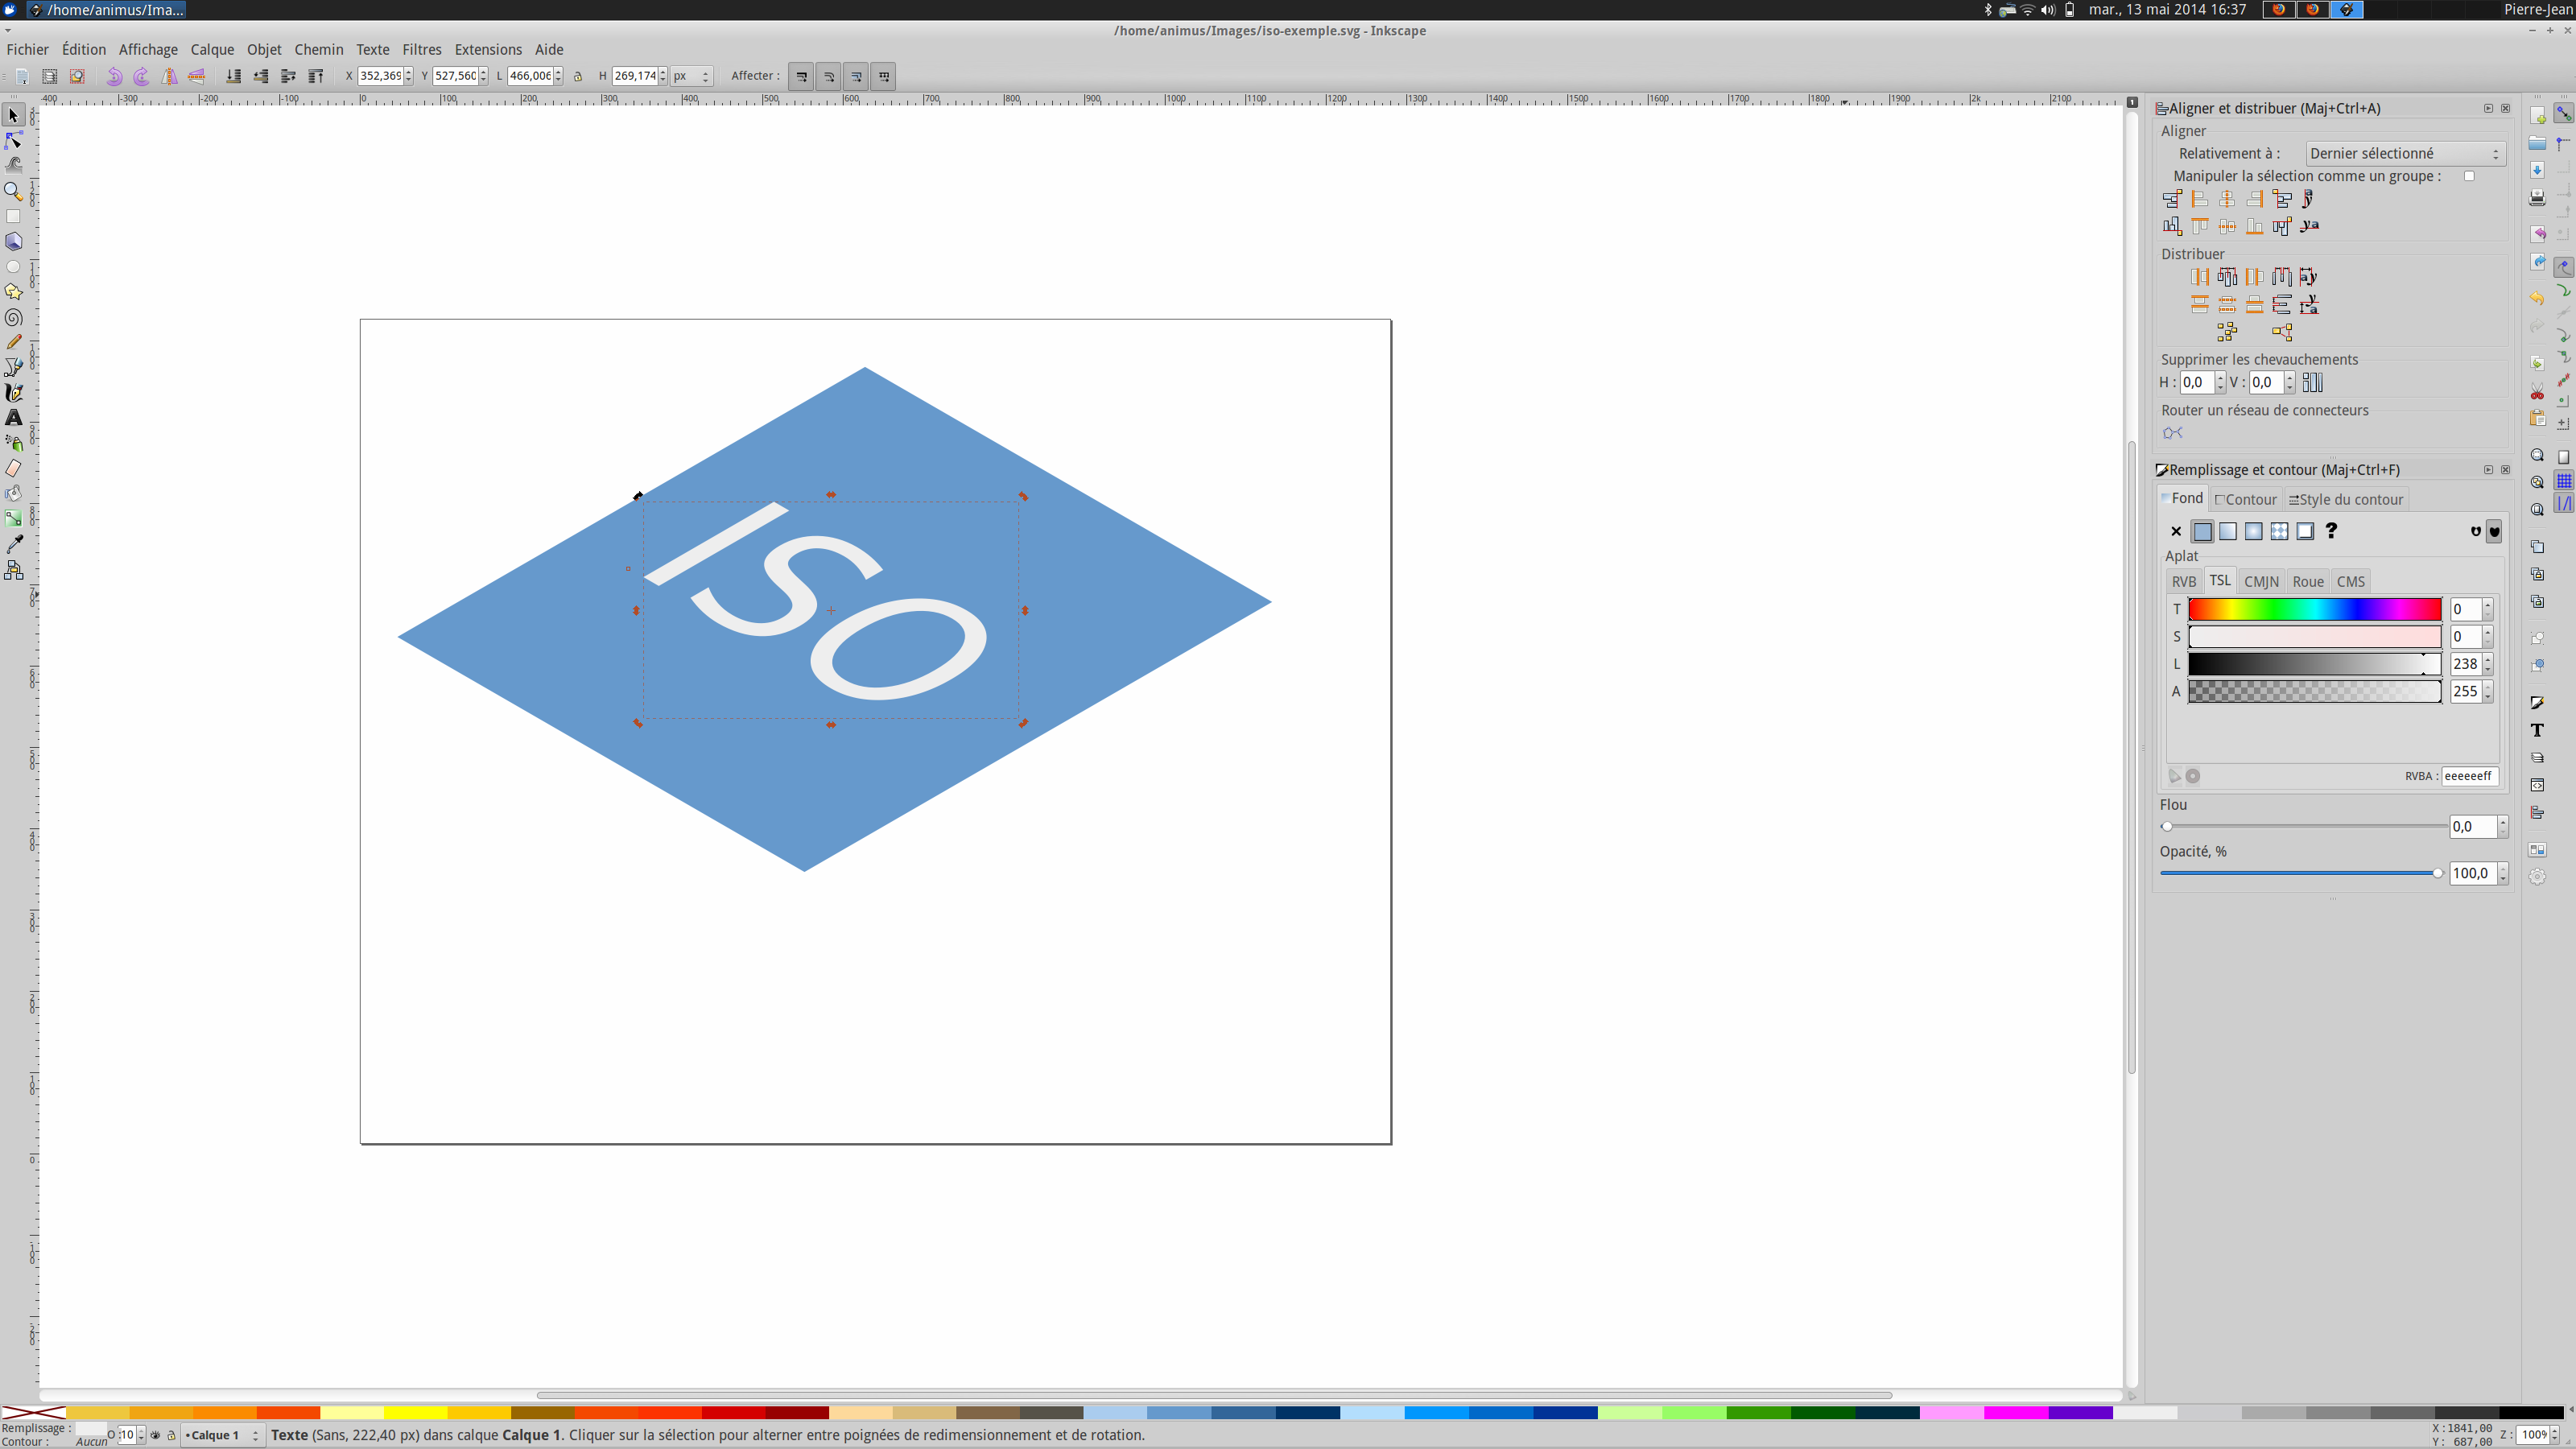
You now have shapes and text on the same perspective.
Add other faces
By changing the direction of skew or rotation, you can add shapes on the 2 others plans of isometric projection.
- Create another rectangle
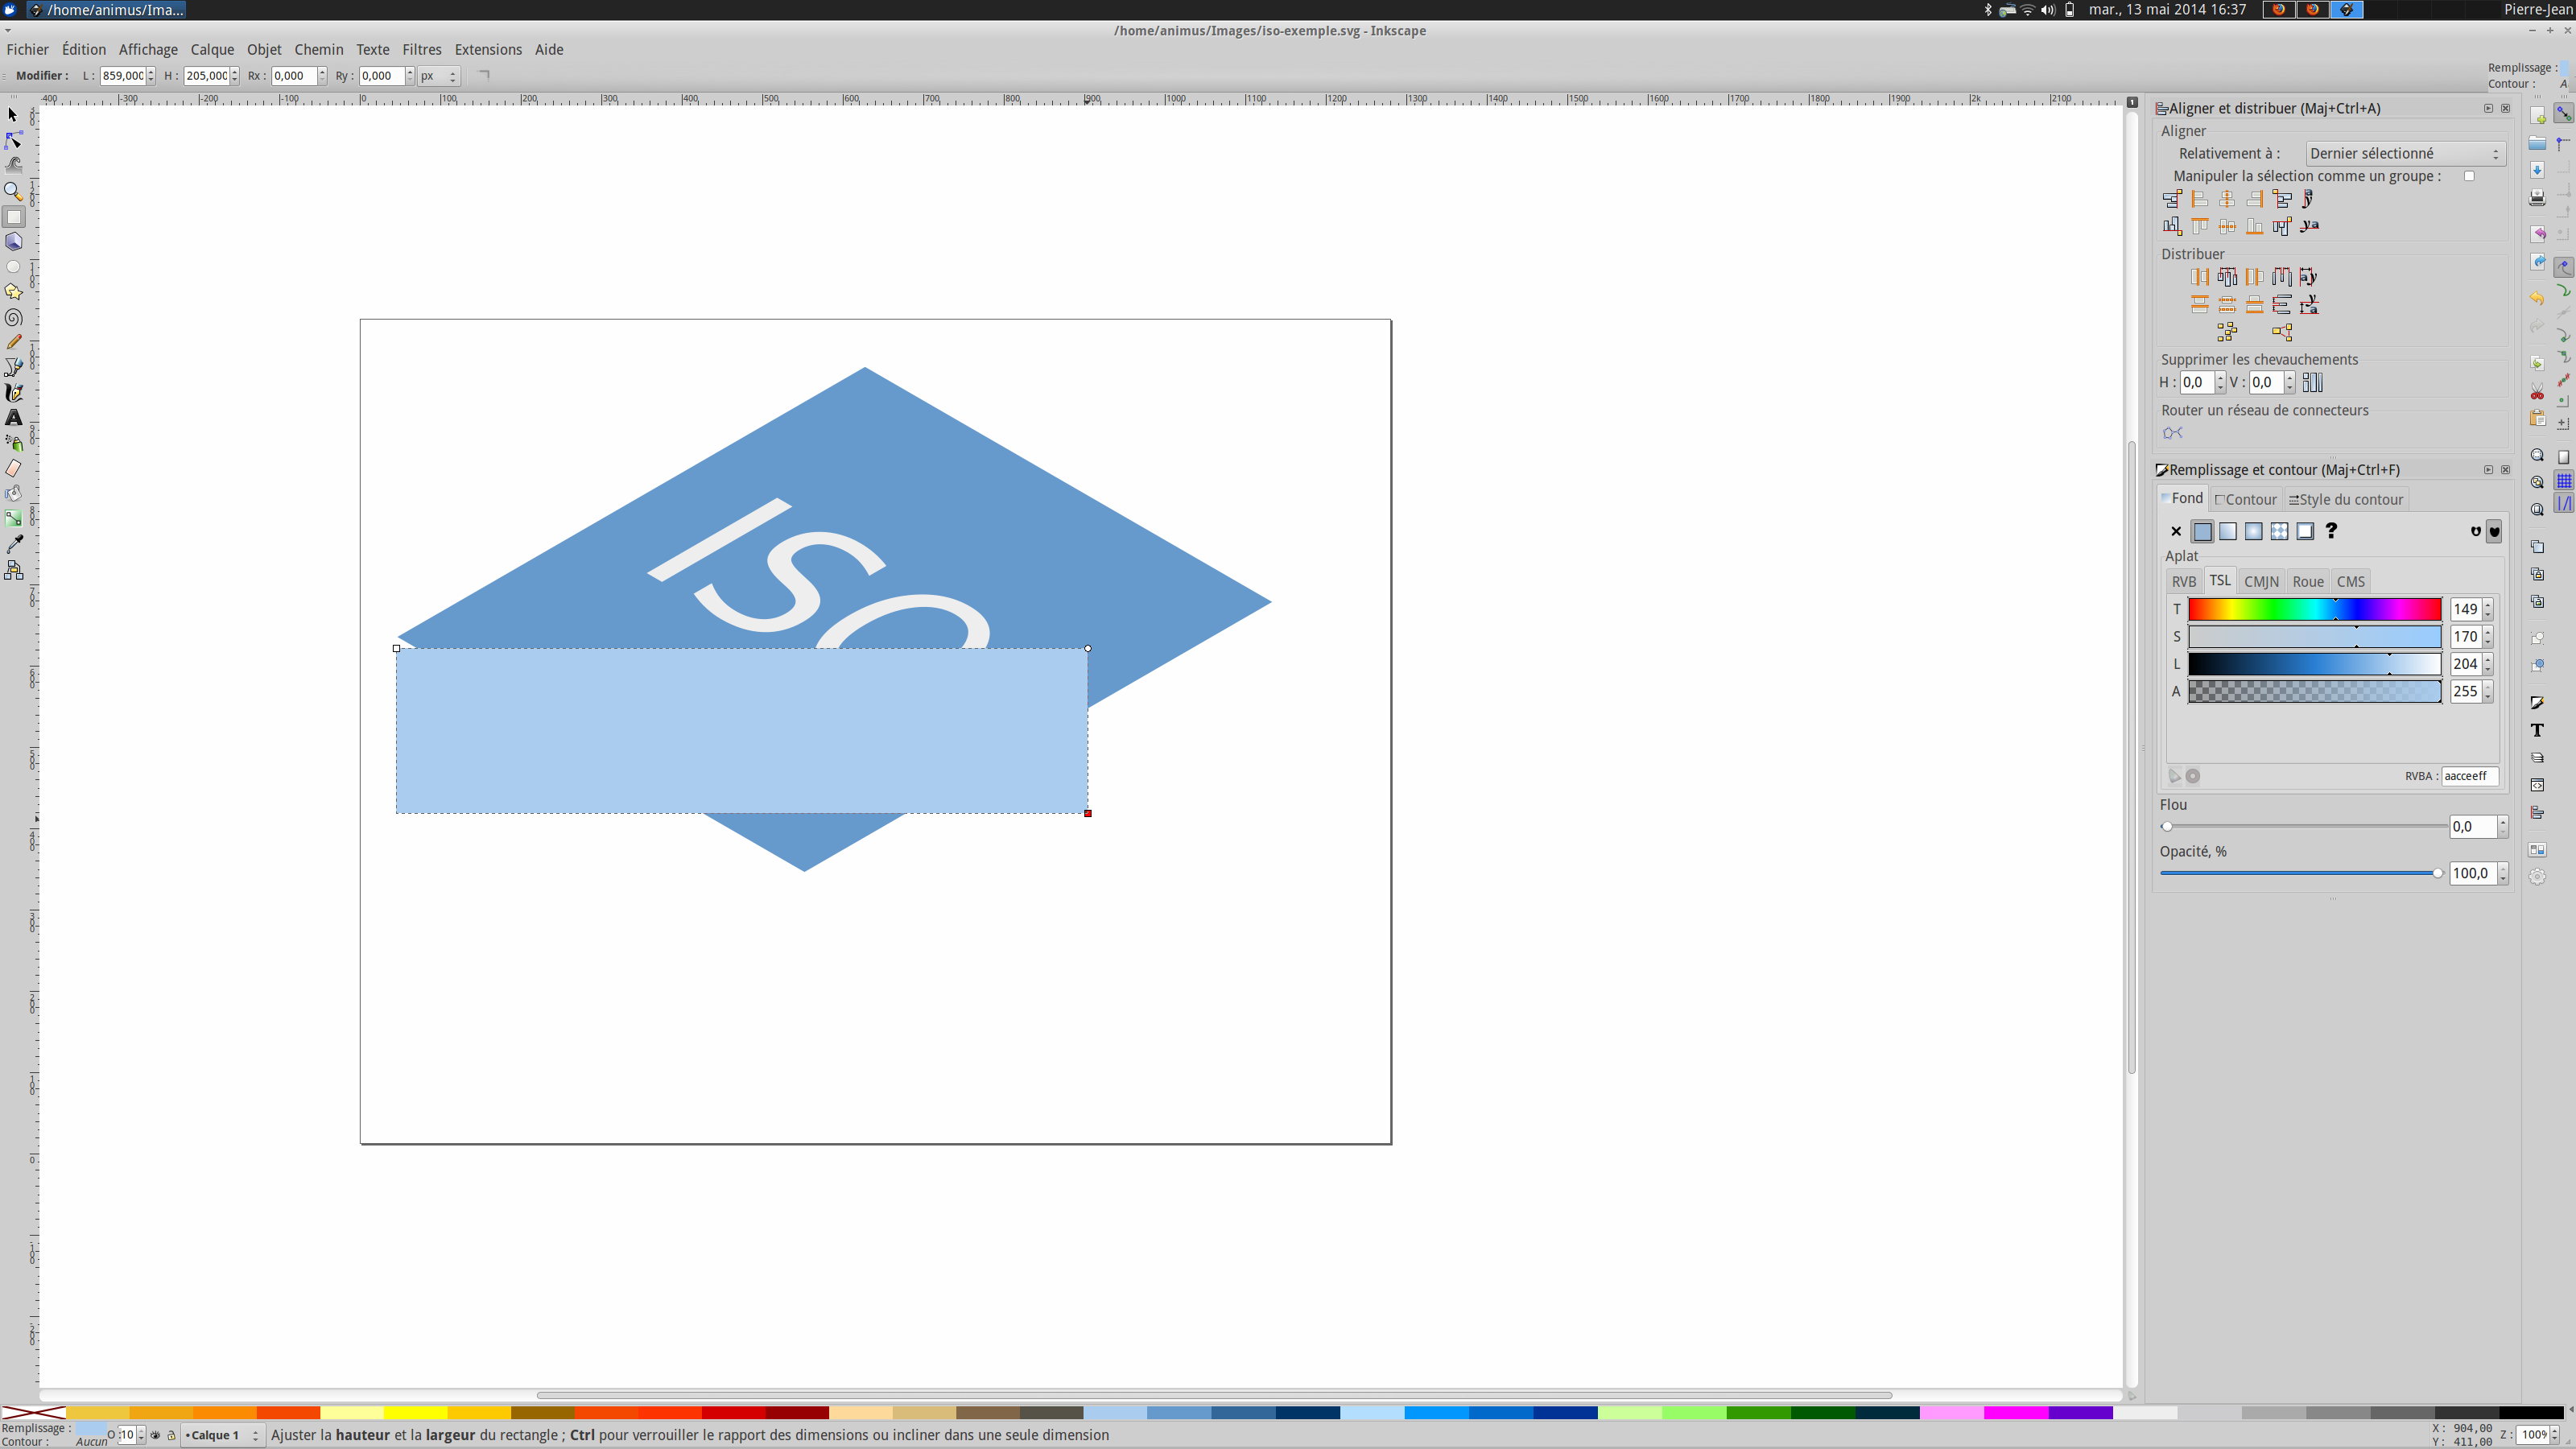
- Skew it to the left this time
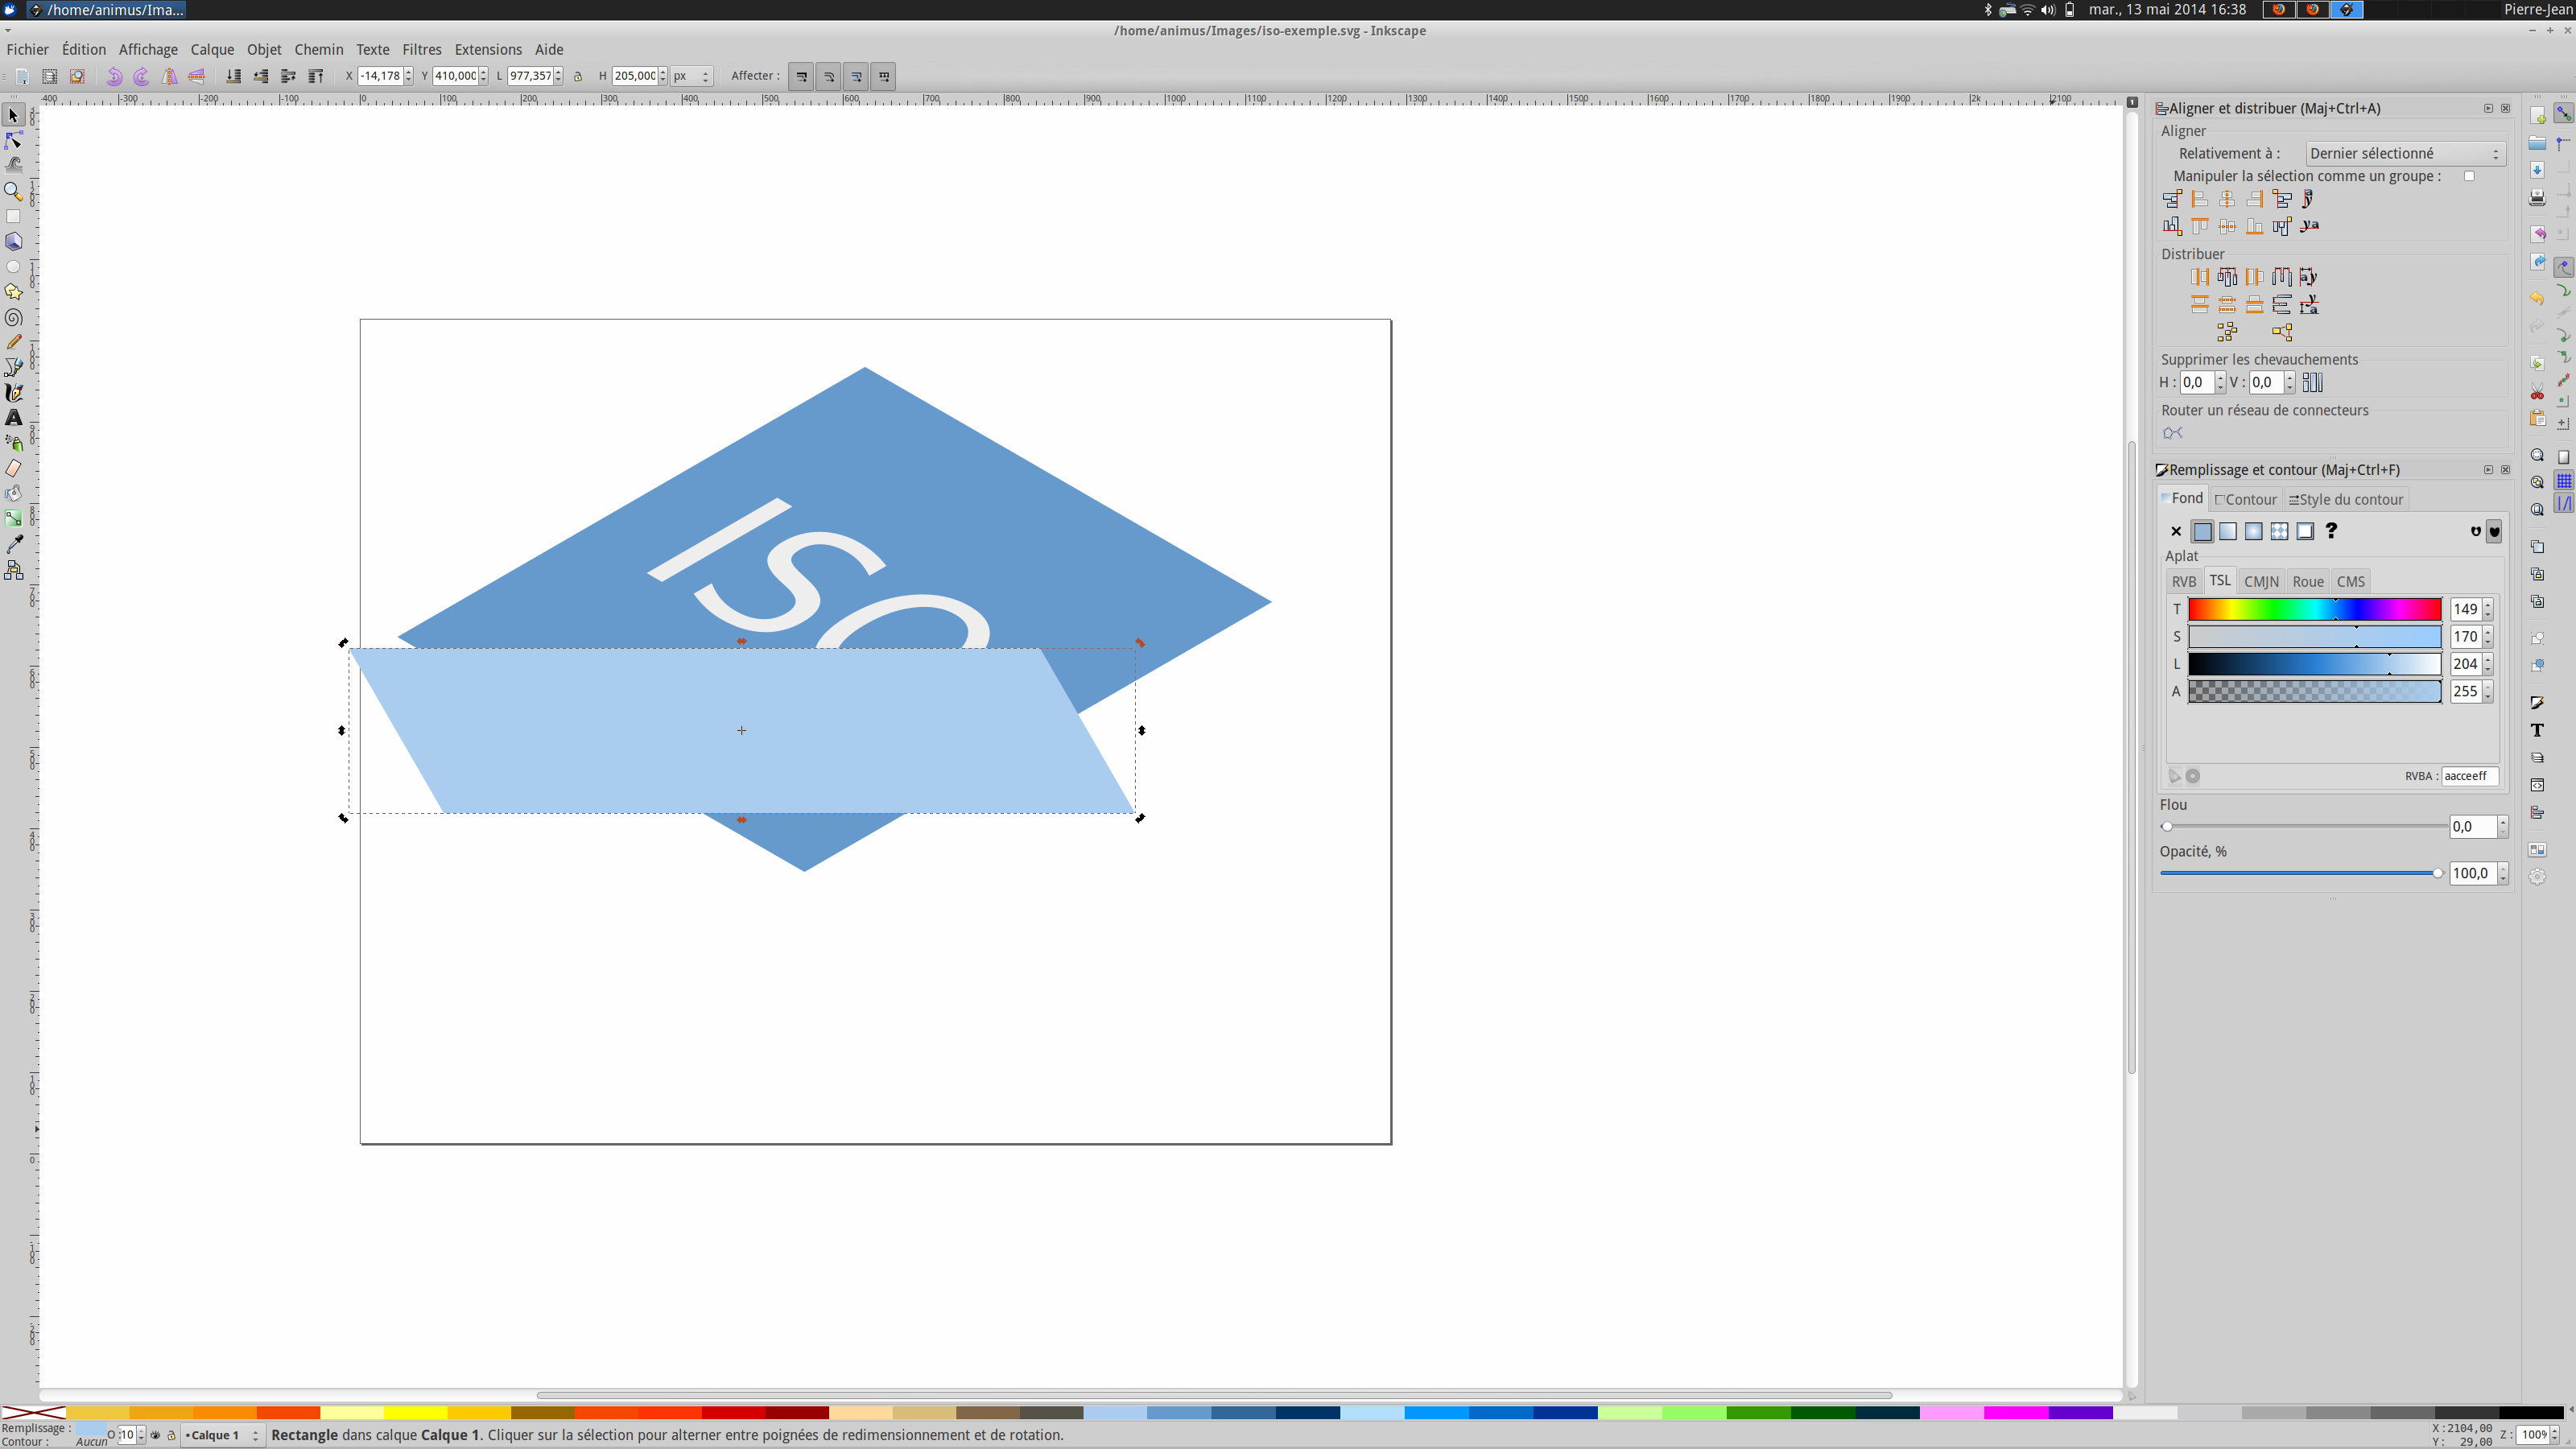
- Rotate it to the right
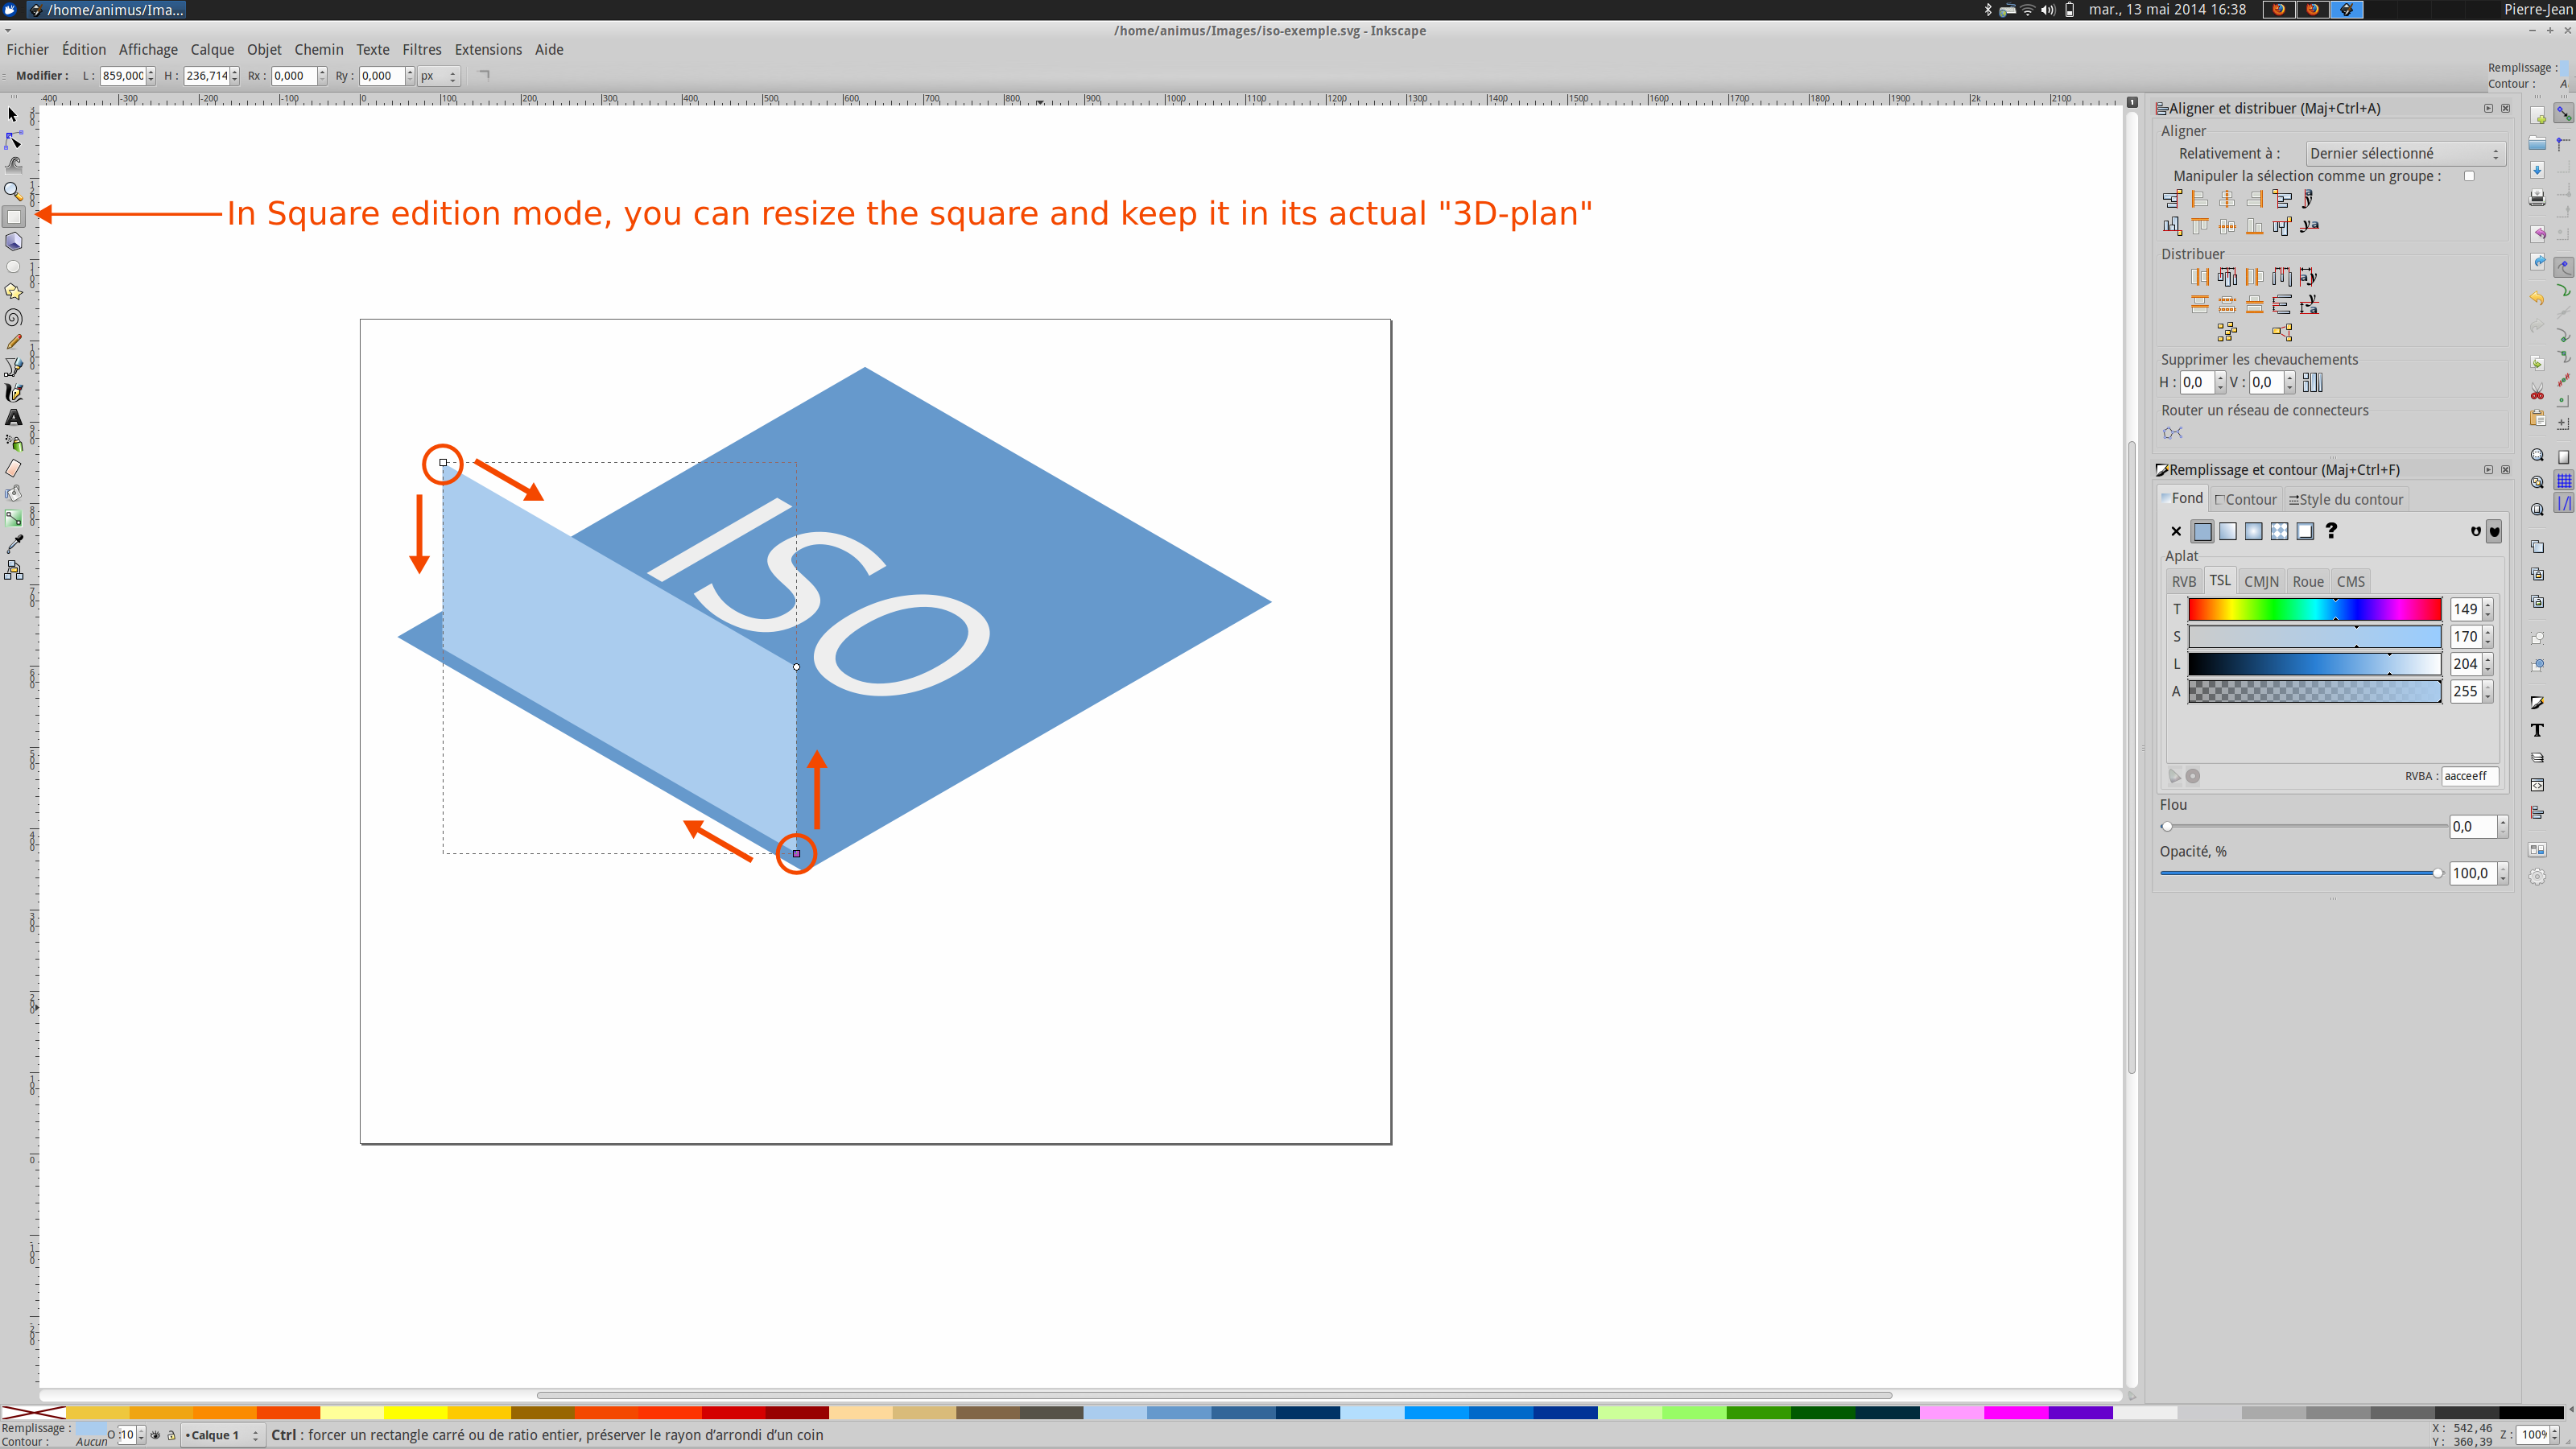
- Notice that if you want to resize your square once on a isometric plan, you can use the square tool once your square selected (or press F4) and you’ll be able to resize it in the plan by grabbing the corners.
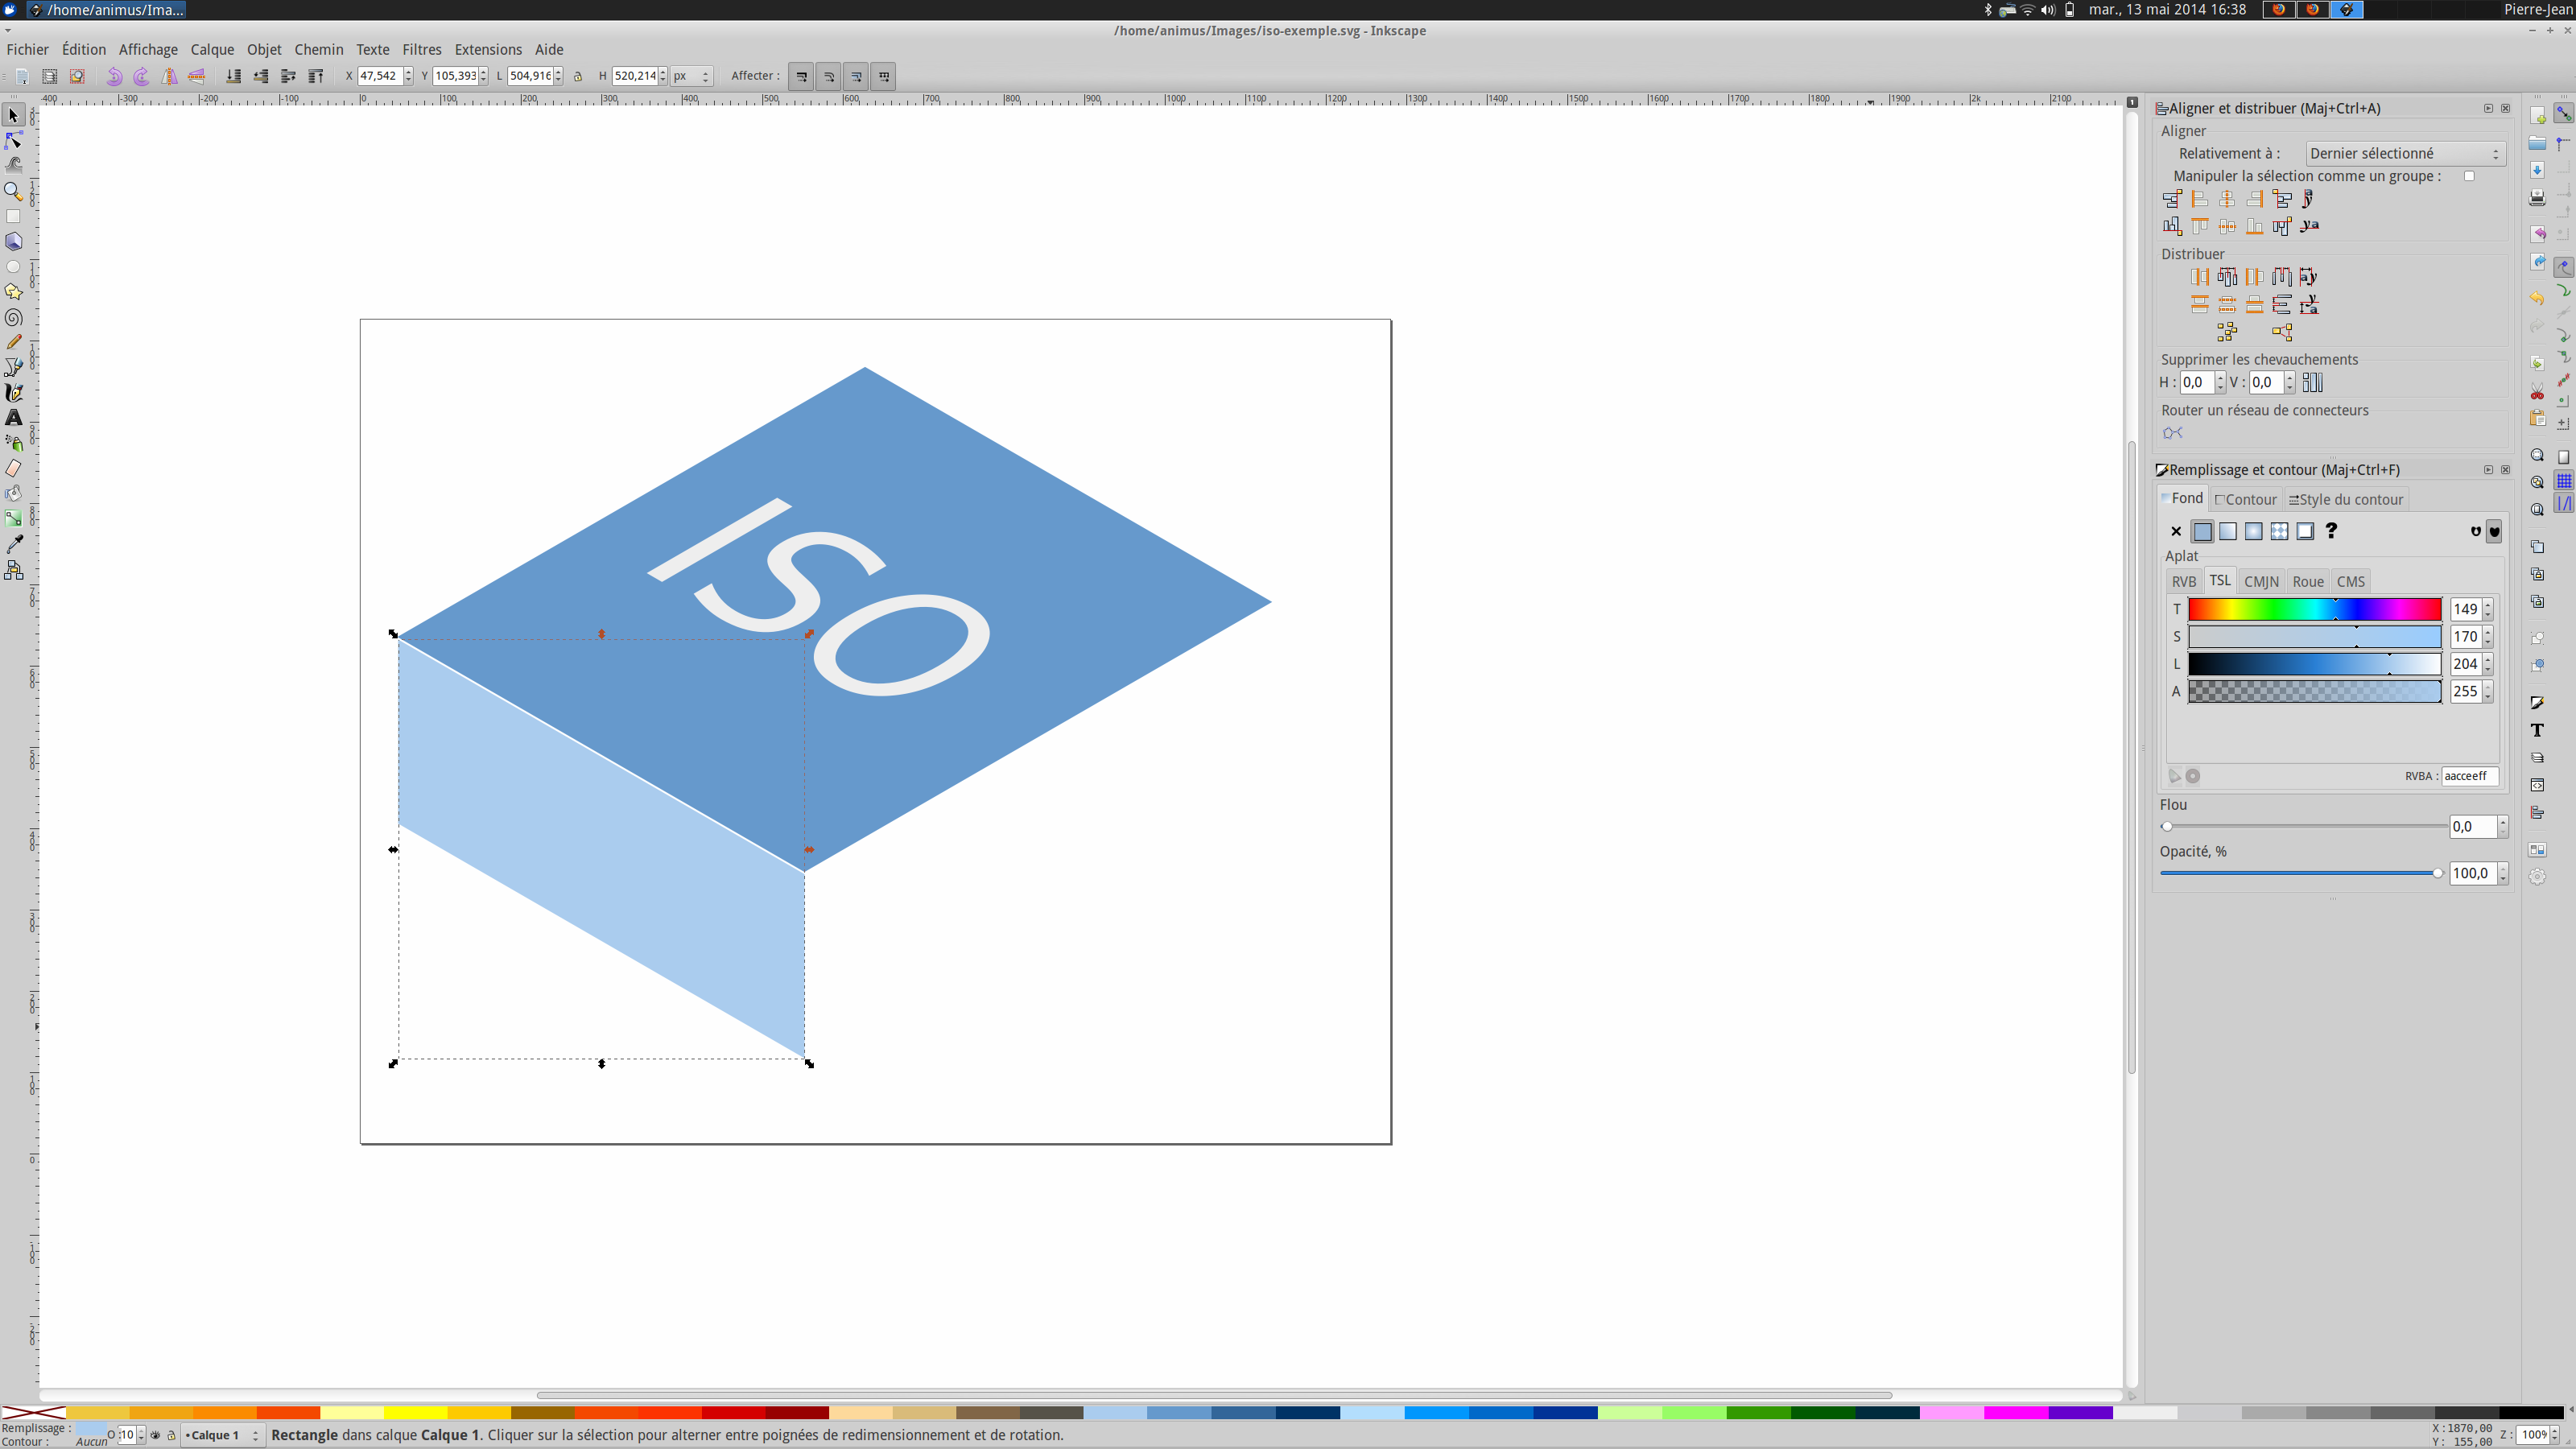
- You do the same with the other rectangle, but by skewing it to the right and rotating it to the left
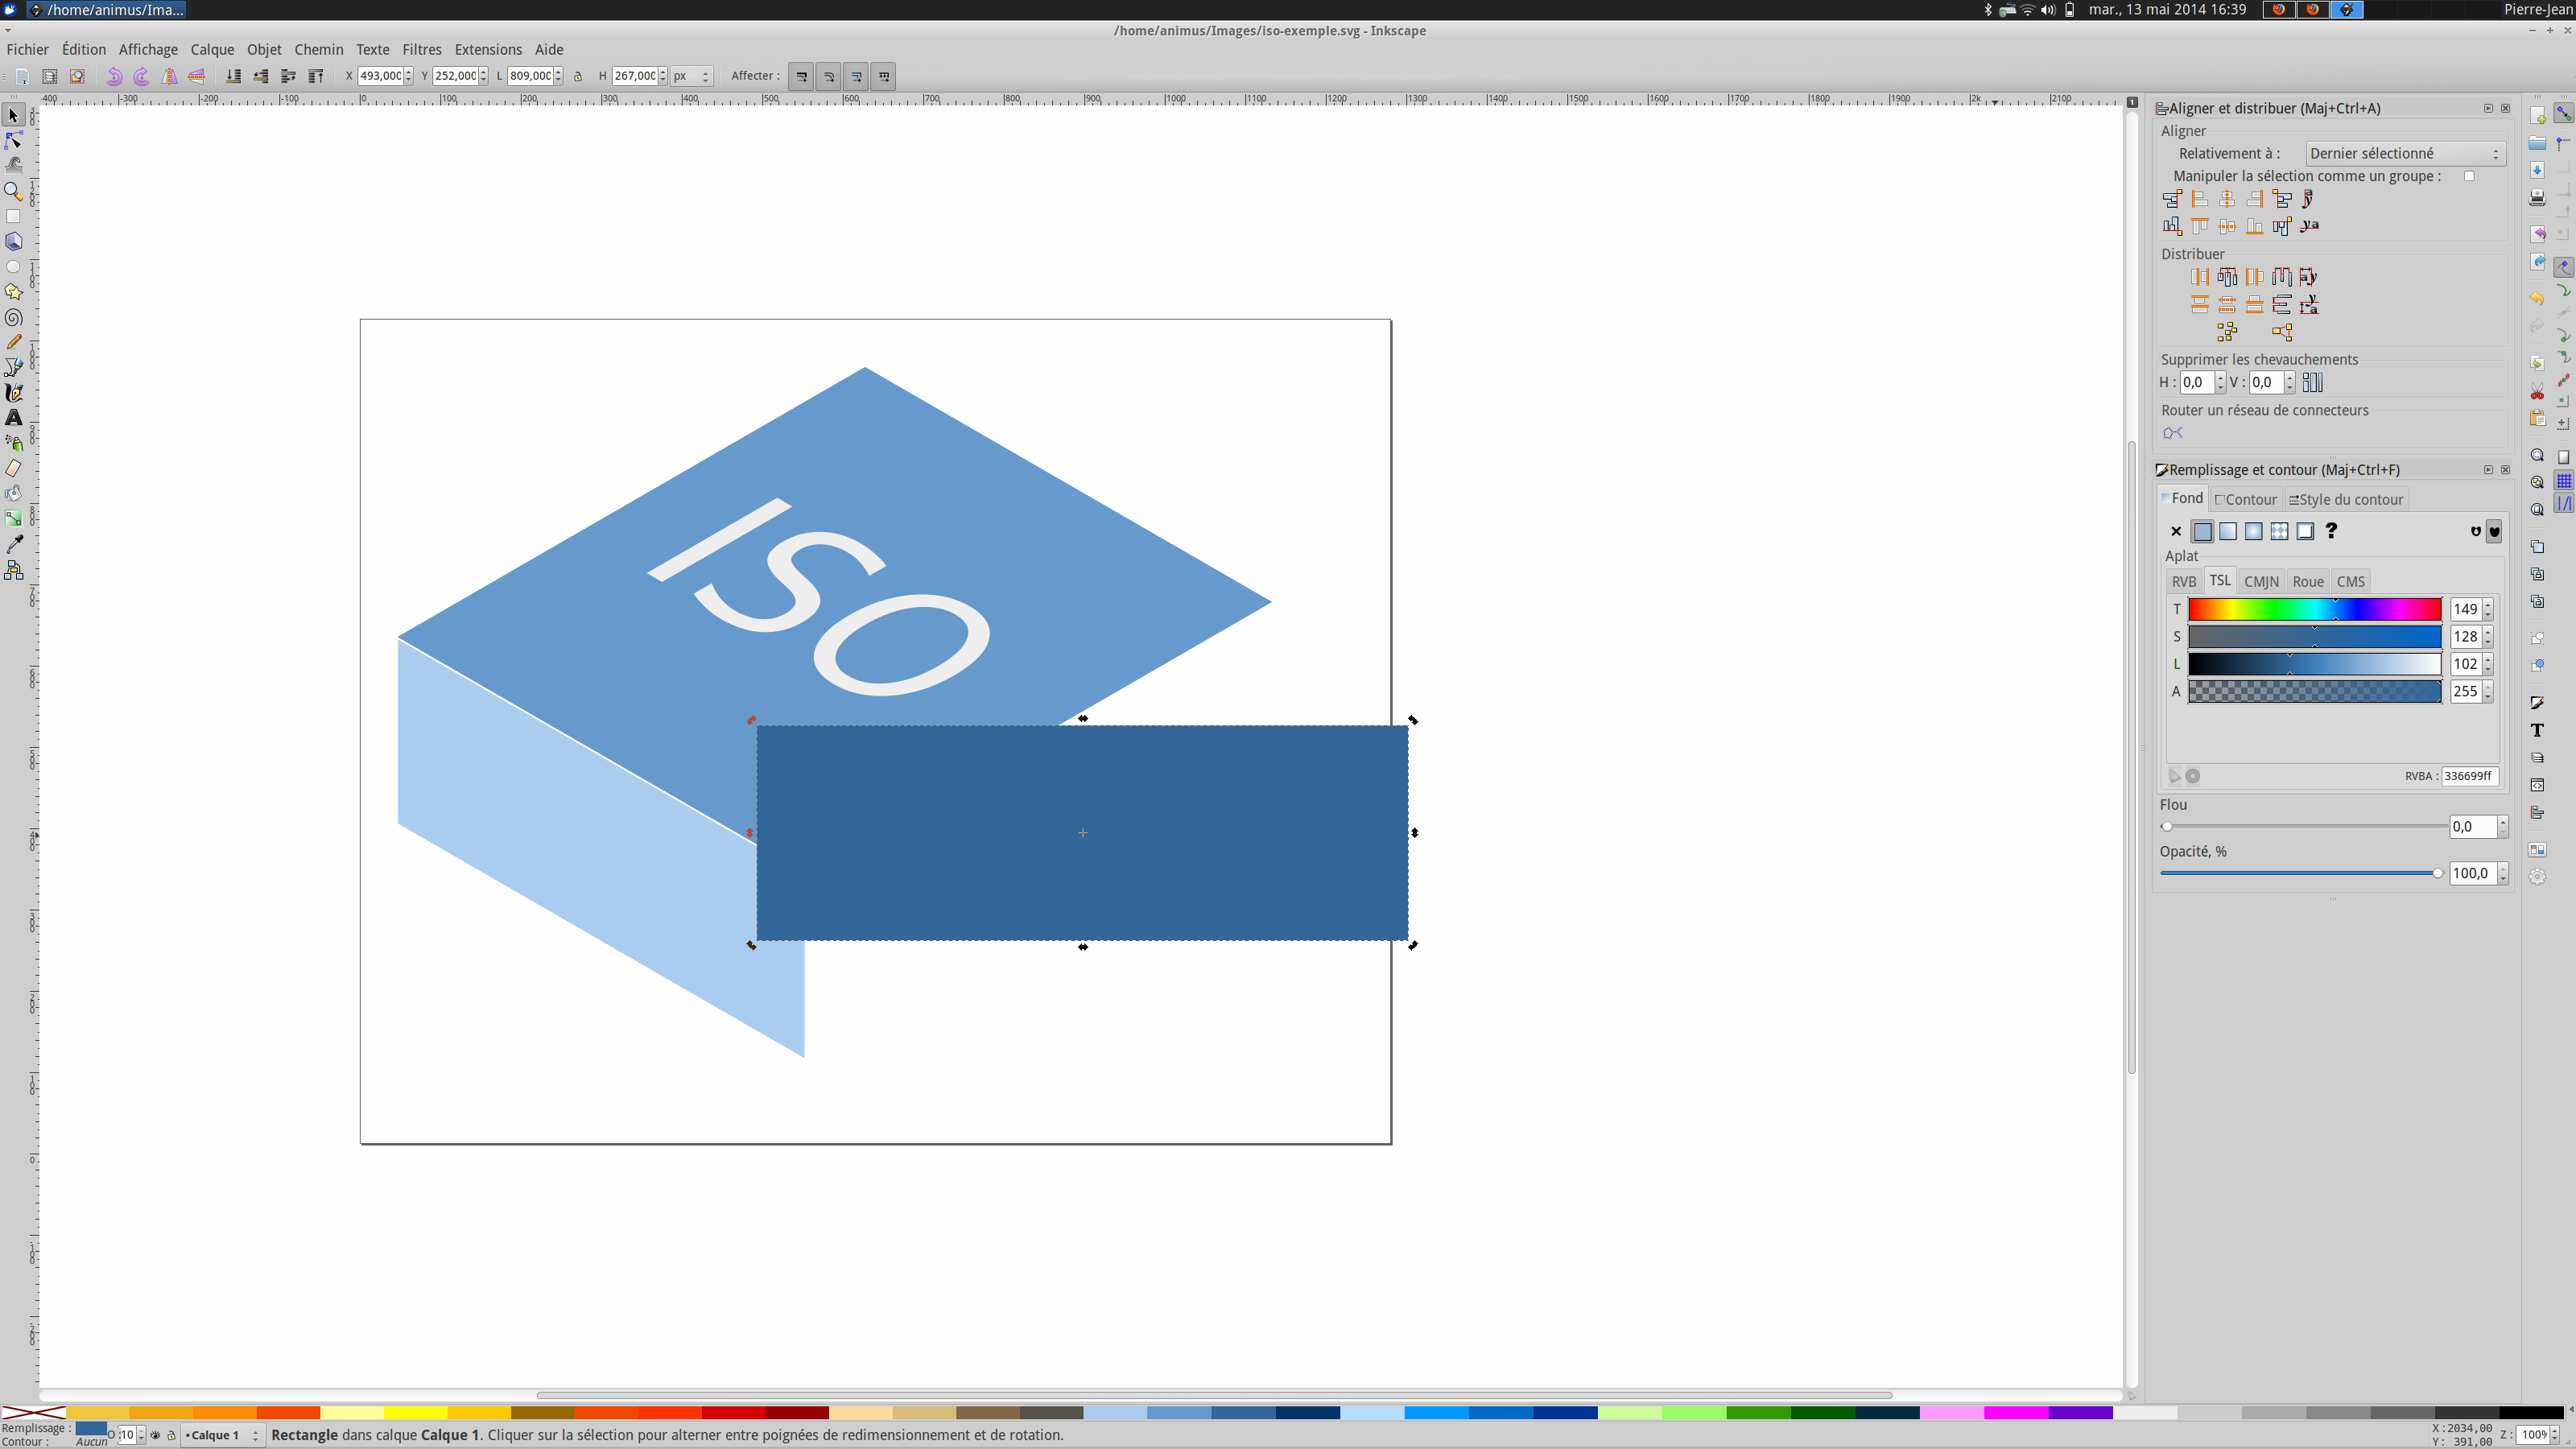
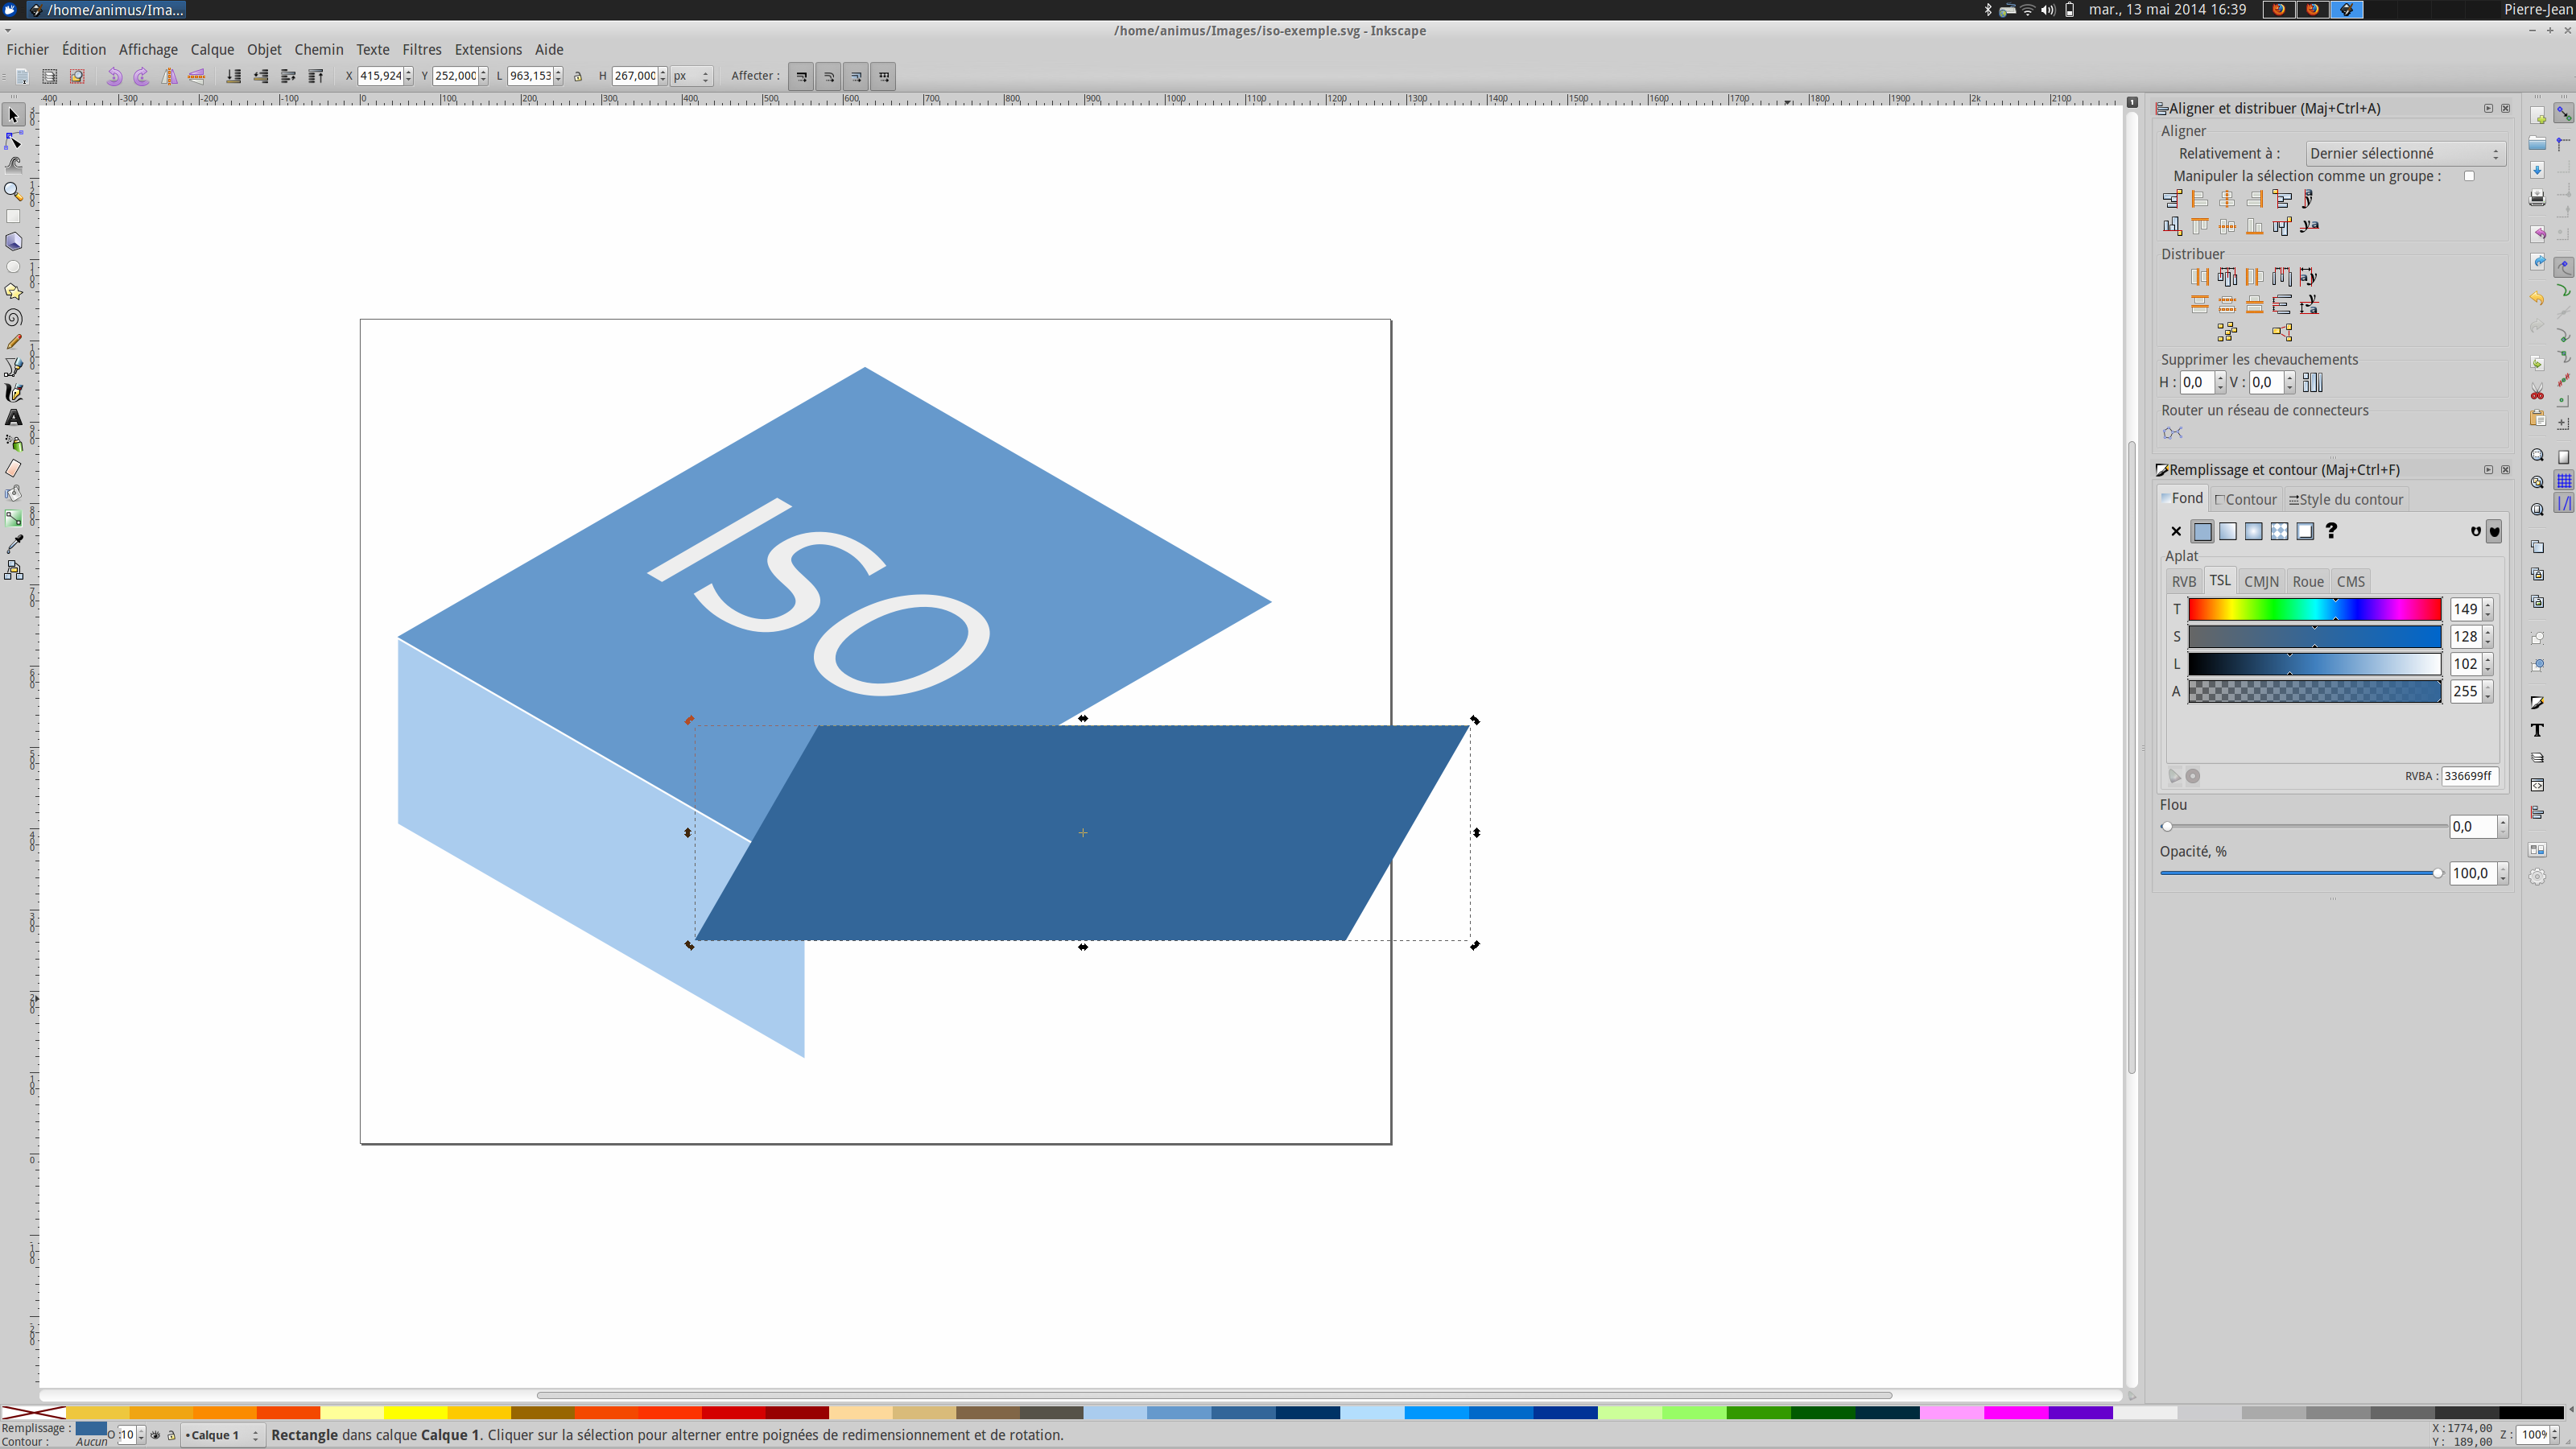
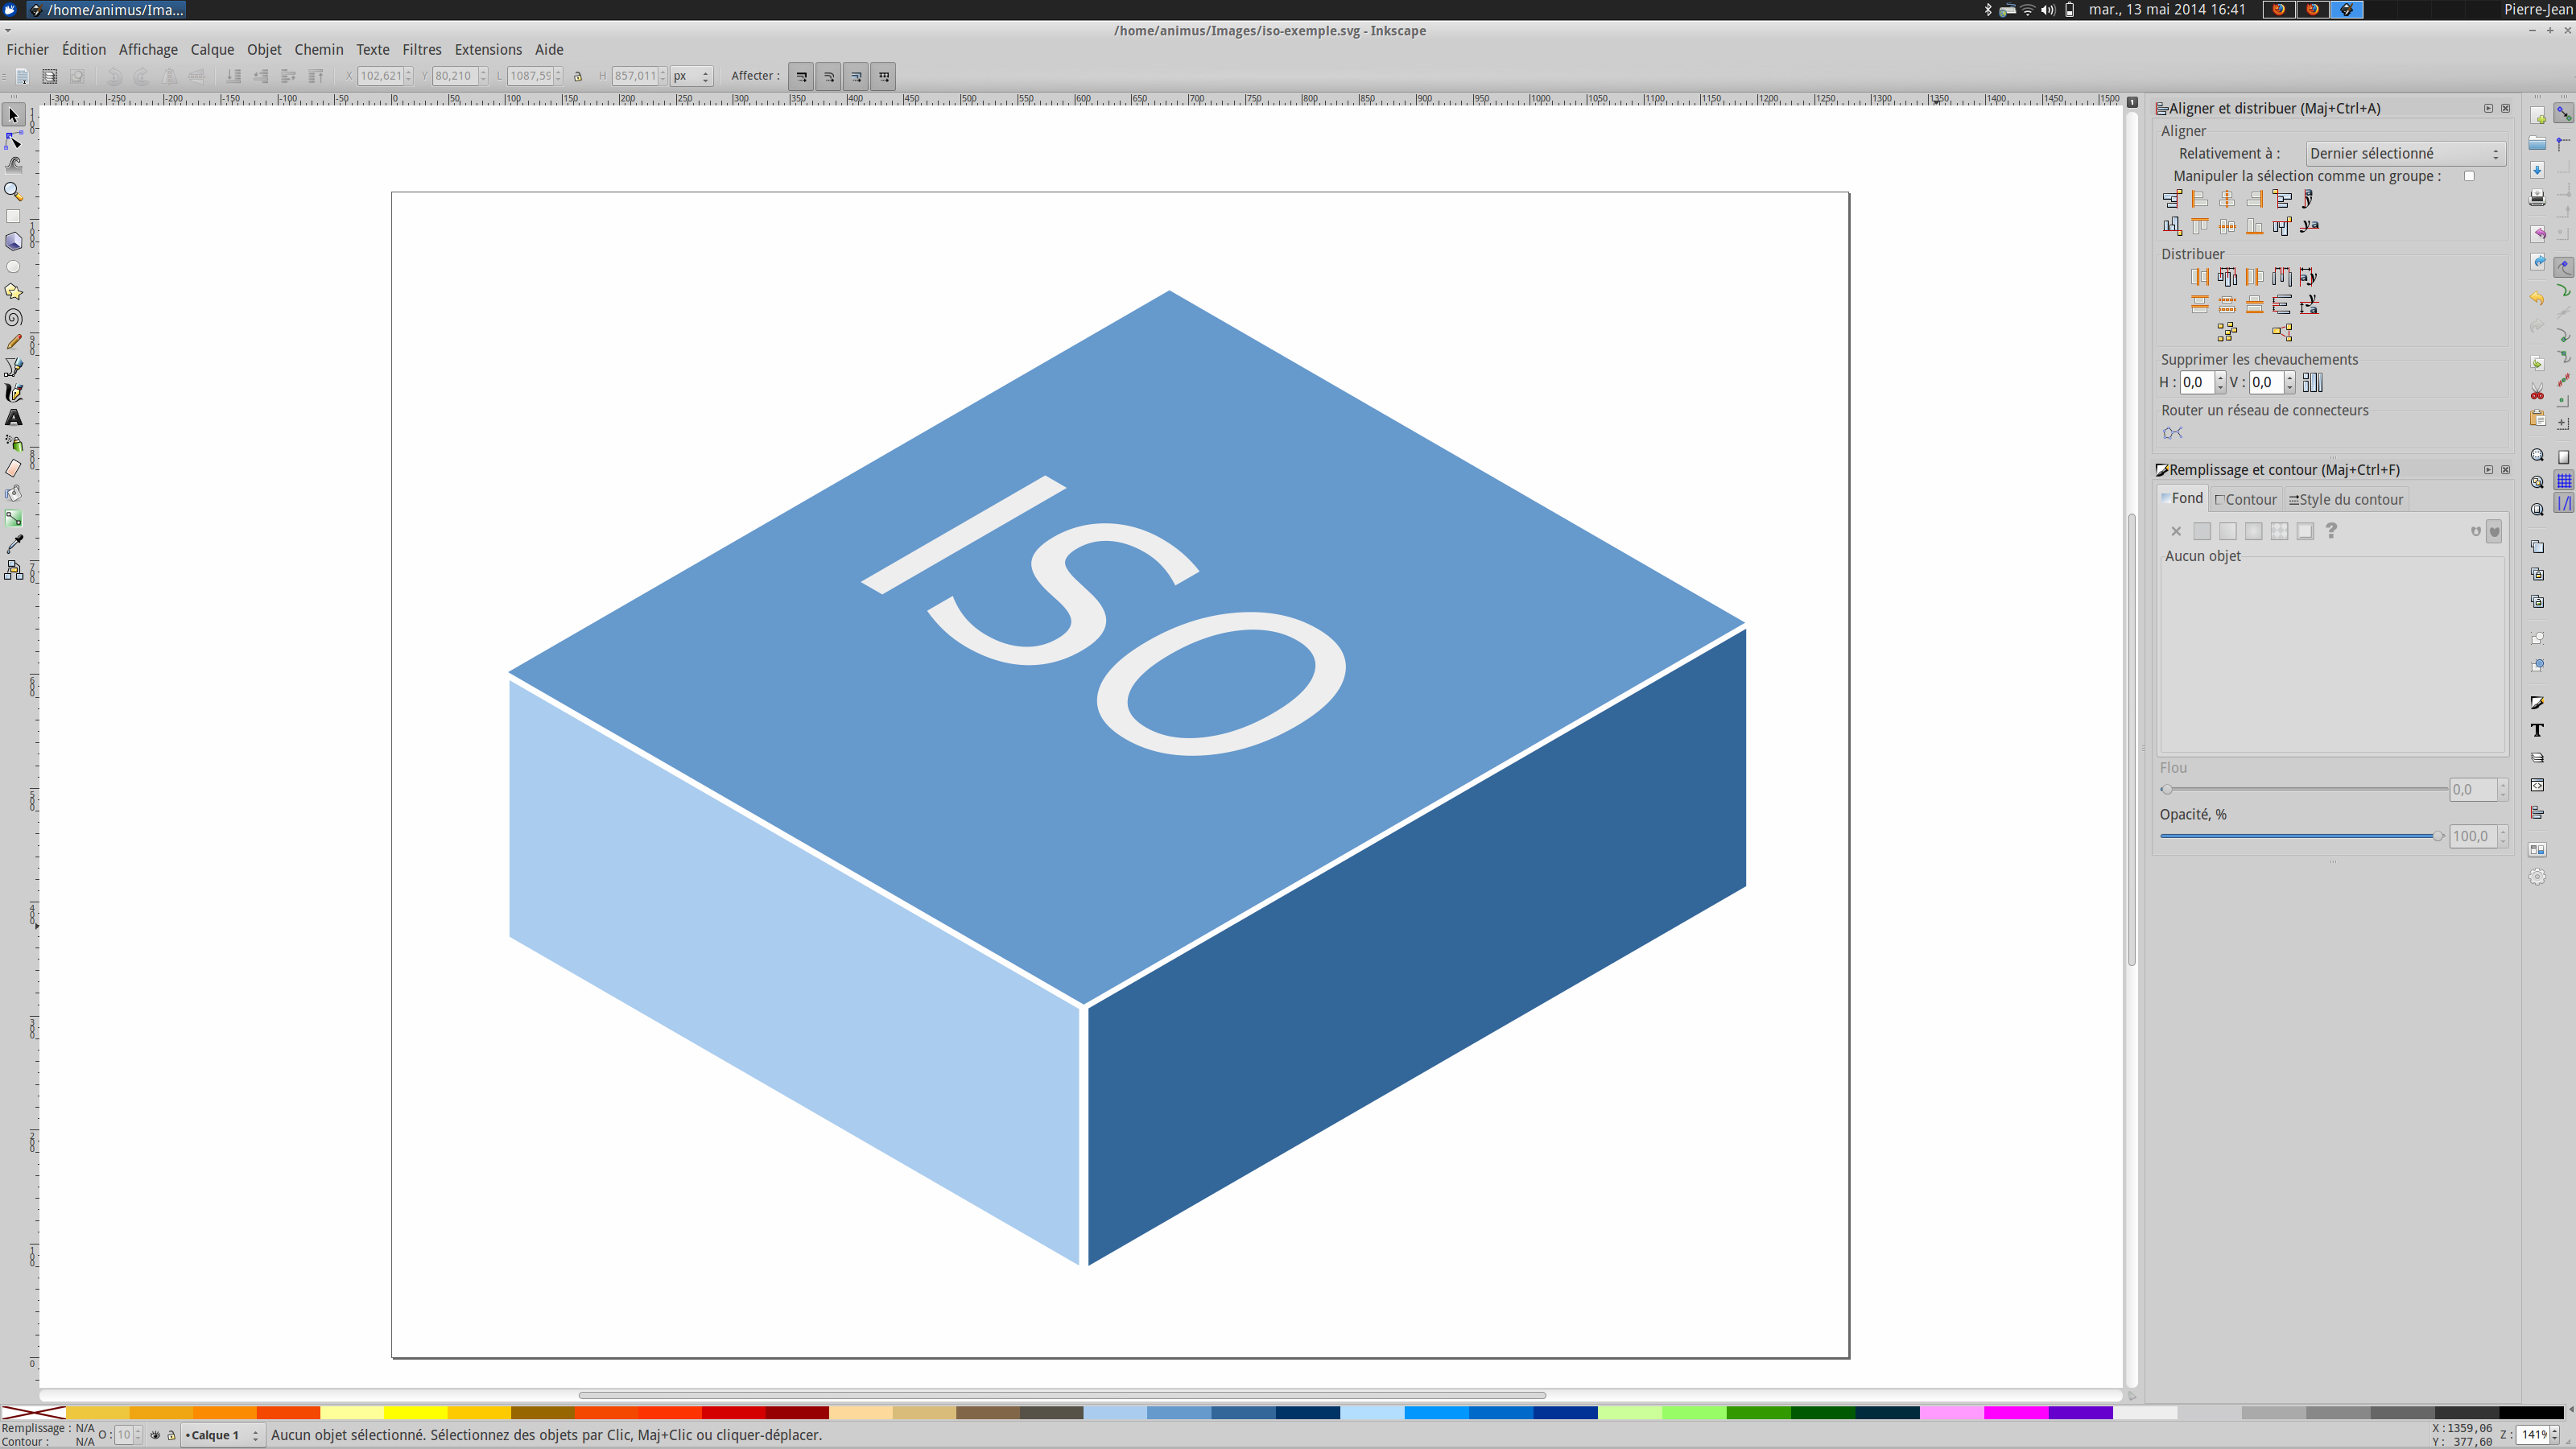
By playing with the colors of the different squares, you can obtain a nice impression of volume, without effort or knowledge.
Be creative
You can apply this to disc shapes as well and create complete world in isometric projection!
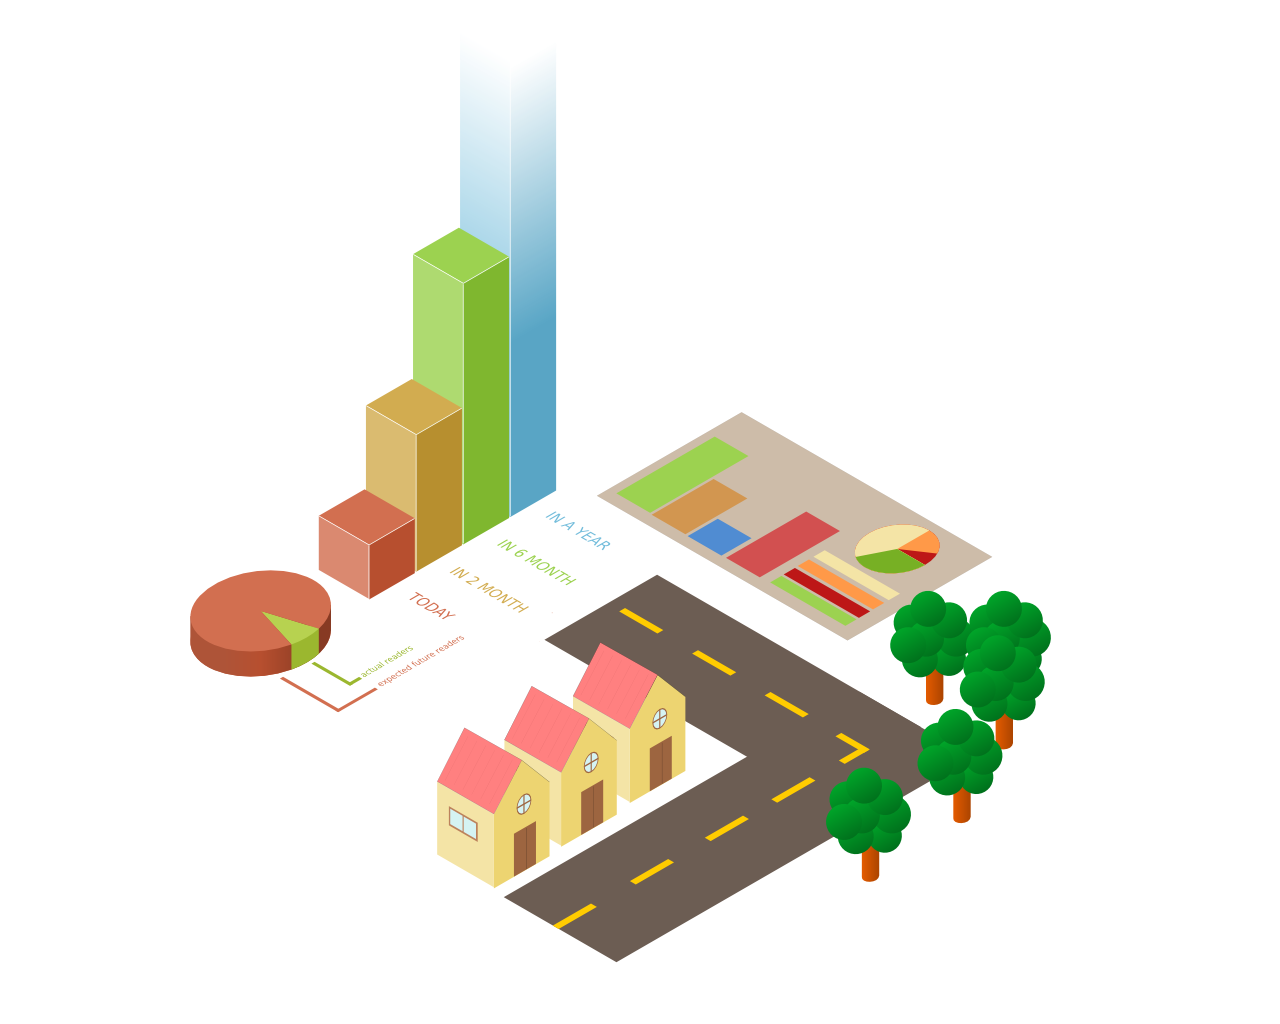
Be aware, though, that this method isn’t an efficient way to create graphs for report. You can find many specialized tools dedicated to this task. But by drawing from scratch you have a total freedom on the result. Your imagination is your only limit!